Search Results for: products

View All Products

Product Name Environment Finish Type Surfaces Tier
013 Acoustic Kote Interior Flat Concrete, Drywall, Masonry Premium Plus
018 Block Filler Interior/Exterior Primer Concrete, Masonry Premium Plus
040 Block Kote Interior/Exterior Primer Concrete, Masonry Premium
098 Sol-Tec Exterior Primer Roofing Specialty
140 PVA Sealer Interior Primer Drywall, Plaster Quality
155 Seal Kote Interior Primer Drywall, Plaster Premium
190 Uniprep Interior Primer Drywall, Plaster Specialty
270 Ure Tech Low Sheen Interior/Exterior Sheen Concrete, Drywall, Metal, Wood Specialty
290 Ure Tech Semi-Gloss Interior/Exterior Semi-Gloss Concrete, Drywall, Metal, Wood Specialty
301 V-PRO 300 Primer Interior Primer Concrete, Drywall, Masonry, Metal, Wood Quality
310 V-PRO 300 Flat Interior Flat Concrete, Drywall, Masonry, Metal, Wood Quality
320 V-PRO 300 Velvasheen Interior Sheen Concrete, Drywall, Masonry, Metal, Wood Quality
330 V-PRO 300 Eggshell Interior Eggshell Concrete, Drywall, Masonry, Metal, Wood Quality
340 V-PRO 300 Semi-Gloss Interior Semi-Gloss Concrete, Drywall, Masonry, Metal, Wood Quality
350 Floortec Vaporseal Interior Flat Concrete, Masonry Quality
360 Floortec Interior Gloss Concrete, Masonry Premium
370 Floortec Clear Topcoat Interior Gloss Concrete, Masonry Premium
400 Acripoxy II Interior/Exterior Sheen Concrete, Wood Specialty
450 Biketrac Kote Exterior Glass Aggregate Recommended Asphalt, Concrete, Masonry Specialty
455 Biketrac Kote Green Exterior Glass Aggregate Recommended Asphalt, Concrete, Masonry Specialty
500 Solotex Exterior Primer Concrete, Masonry, Plaster, Stucco Premium Plus
863 Production Aqualac Interior Primer Drywall, Wood Flat
1000 Duraglide Interior/Exterior Flat Concrete, Drywall, Masonry, Metal, Plaster, Stucco Premium Plus
1100 Hi-Build PVA Sealer Interior Primer Drywall, Plaster Premium Plus
1200 Coverall Low Sheen Interior Sheen Concrete, Drywall, Masonry, Plaster, Wood Quality
1300 Coverall Semi-Gloss Interior Semi-Gloss Concrete, Drywall, Masonry, Plaster, Wood Quality
1400 Flat Graffiti Block Interior/Exterior Flat Concrete, Drywall, Masonry Premium
1500 Coverall Fastwall Interior Flat Concrete, Drywall, Masonry Premium
1750 Acriglo Velvasheen Interior/Exterior Sheen Concrete, Drywall, Masonry, Metal, Wood Premium
1900 Weather Master Exterior Flat Concrete, Masonry, Plaster, Stucco, Wood Premium Plus
2000 Duratone Exterior Matte Concrete, Masonry, Metal, Stucco, Wood Premium Plus
2200 Coverall Flat Exterior Flat Concrete, Masonry, Stucco, Wood Quality
2500 Duracrete Exterior Flat Concrete, Masonry Quality
2800 Acriglo Flat Exterior Flat Concrete, Masonry, Stucco Specialty
2800AF Coverall Concrete Exterior Flat Concrete, Masonry, Stucco Specialty
3000 Acribond Exterior Flat Concrete, Masonry, Metal, Stucco, Wood Premium
3400 Pre-Thinned Breezewall Interior Flat Concrete, Drywall, Masonry Quality
3500 Breezewall Interior Flat Concrete, Drywall, Masonry Quality
3600 Coverall Flat Interior Flat Concrete, Drywall, Masonry, Plaster Quality
3700 Premium Wall Interior Flat Concrete, Drywall, Masonry Quality
4000 Uniprime Interior/Exterior Primer Concrete, Drywall, Masonry, Metal, Plaster, Stucco Premium Plus
4200 Terminator II Interior/Exterior Primer Concrete, Drywall, Masonry, Metal, Plaster, Stucco Premium Plus
4600 Uniprime II Interior/Exterior Primer Concrete, Masonry, Stucco Premium Plus
4700 Tilt-Up Primer Interior/Exterior Primer Concrete, Masonry, Stucco Premium
4800 Metal Pro Primer Interior/Exterior Primer Metal Premium Plus
5001 V-PRO 5000 Primer Interior Primer Concrete, Drywall, Masonry, Plaster Premium
5100 V-PRO 5000 Flat Interior Flat Concrete, Drywall, Masonry, Plaster Premium
5200 V-PRO 5000 Velvasheen Interior Sheen Concrete, Drywall, Masonry, Plaster Premium
5300 V-PRO 5000 Eggshell Interior/Exterior Eggshell Concrete, Drywall, Masonry, Plaster Premium
5400 V-PRO 5000 Semi-Gloss Interior/Exterior Semi-Gloss Concrete, Drywall, Masonry, Plaster Premium
5710 Polytec Matte Interior/Exterior Matte Concrete, Drywall, Masonry, Plaster, Wood Premium Plus
5730 Polytec Eggshell Interior/Exterior Eggshell Concrete, Drywall, Masonry, Plaster, Wood Premium Plus
5740 Polytec Semi-Gloss Interior/Exterior Semi-Gloss Concrete, Drywall, Masonry, Plaster, Wood Premium Plus
6600 Aqualac Water Lacquer Interior/Exterior Flat Concrete, Drywall, Wood Premium Plus
6700 On Line Flat Traffic Paint Exterior Flat Asphalt, Concrete, Masonry Specialty
6800 On Line Semi-Gloss Traffic Paint Exterior Semi-Gloss Asphalt, Concrete, Masonry Specialty
6900 On Line Fast Dry Traffic Paint Exterior Flat Asphalt, Concrete, Masonry Specialty
7000 Acriglo Semi-Gloss Interior/Exterior Semi-Gloss Concrete, Drywall, Masonry, Metal, Wood Premium
7001 Acriglo Interior Interior Primer Concrete, Drywall, Masonry, Plaster, Wood Premium
7100 Acriglo Flat Interior Flat Concrete, Drywall, Masonry, Plaster, Wood Premium
7200 Optiline Fast Dry Low Sheen Traffic Paint Exterior Flat Asphalt, Concrete, Masonry Specialty
7400 Coverall Semi-Gloss Interior Semi-Gloss Concrete, Drywall, Masonry, Plaster, Wood Premium
7500 Acriglo Eggshell Interior/Exterior Eggshell Concrete, Drywall, Masonry, Metal, Wood Premium
7600 Coverall Gloss Interior Gloss Concrete, Drywall, Masonry, Plaster, Wood Premium
7800 Industrial Gloss Exterior Primer Drywall, Metal, Stucco, Wood Premium Plus
8000 Carefree Prime-ZALL Interior/Exterior Primer Drywall, Metal, Stucco, Wood Premium Plus
8100 Carefree Flat Interior/Exterior Flat Concrete, Drywall, Masonry, Metal, Plaster, Wood Premium Plus
8200 Carefree Velvasheen Interior/Exterior Flat Drywall, Plaster, Stucco, Wood Premium Plus
8300 Carefree Eggshell Interior/Exterior Eggshell Concrete, Drywall, Masonry, Metal, Plaster, Wood Premium Plus
8400 Carefree Semi-Gloss Interior/Exterior Semi-Gloss Concrete, Drywall, Masonry, Metal, Wood Premium Plus
8500 Carefree Gloss Interior/Exterior Gloss Concrete, Drywall, Masonry, Metal, Wood Premium Plus
8600 Polytec Primer Interior/Exterior Primer Metal, Wood Premium Plus
8730 Polytec DTM Eggshell Interior/Exterior Eggshell Concrete, Drywall, Masonry, Metal, Plaster, Wood Premium Plus
8740 Polytec DTM Semi-Gloss Interior/Exterior Semi-Gloss Concrete, Drywall, Masonry, Metal, Wood Premium Plus
8750 Polytec DTM Gloss Interior/Exterior Gloss Concrete, Drywall, Masonry, Metal, Wood Premium Plus
8901 Polytec Sanding Sealer Interior/Exterior Primer Wood Premium
8910 Polytec Clear Matte Interior/Exterior Matte Wood Premium
8920 Polytec Clear Eggshell Interior/Exterior Eggshell Wood Premium
8940 Polytec Clear Semi-Gloss Interior/Exterior Semi-Gloss Wood Premium
8960 Polytec Clear Gloss Interior Gloss Wood Premium
9100 Aqualac Eggshell Interior/Exterior Eggshell Wood Premium Plus
9200 Aqualac Gloss Interior/Exterior Gloss Wood Premium Plus
9210 Scuff-Tec Matte Interior/Exterior Matte Concrete, Drywall, Masonry, Plaster, Stucco, Wood Premium Plus
9220 Scuff-Tec Satin Interior/Exterior Sheen Concrete, Drywall, Masonry, Plaster, Stucco, Wood Premium Plus
9400 Aqua Fusion Semi-Gloss Interior Semi-Gloss Concrete, Drywall, Metal, Wood Premium Plus
9500 Aqua Fusion Gloss Interior Gloss Concrete, Drywall, Metal, Wood Premium Plus
9600 Protec Metal Primer Interior/Exterior Primer Metal Premium Plus
9700 Protec Satin Interior/Exterior Sheen Concrete, Wood Premium Plus
9800 Protec Semi-Gloss Interior/Exterior Semi-Gloss Masonry, Metal Premium Plus
9900 Protec Gloss Interior/Exterior Gloss Masonry, Metal Premium Plus
DF10 Dry Fall Semi-Gloss Interior Semi-Gloss Drywall Specialty
DF11 Dry Fall Eggshell Interior Eggshell Drywall Specialty
DF12 Dry Fall Flat Interior Flat Drywall Specialty
MB30 Satin Shield Interior/Exterior Sheen Concrete, Masonry Quality
VP20 Interior Wood Interior Primer Wood Quality

View All Products Product Name Environment Finish Type Surfaces Tier 013 Acoustic Kote Interior Flat Concrete, Drywall, Masonry Premium Plus

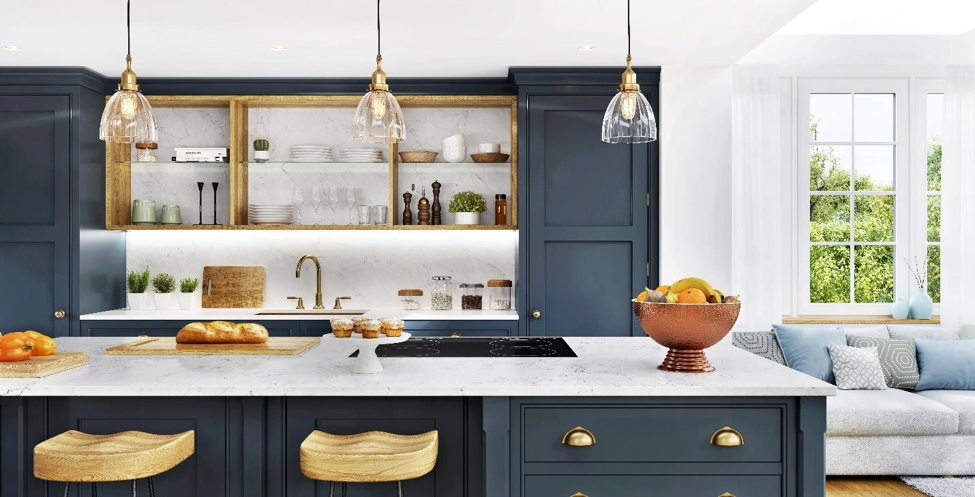
Choosing kitchen paint colors: you want them to look stylish, but that is only part of what to consider. This is the room where you cook, gather as a family, host Sunday night dinner, and probably drink your morning coffee, so the color sets the tone for the whole house.  

The good news is you have options for every style of kitchen, from clean whites to warm grays to soft, earthy greens, and Vista Paint’s palette runs more than 1,300 shades deep. The trick is finding that perfect hue that matches the room, the lighting, and your cabinets. 

Here’s how to narrow it down. 

Why Kitchen Paint Color Choices Are Different 

Picking a color for a kitchen goes beyond looking good, they also needs to hold up to the wear and tear of being in a kitchen, from steam and splatter from cooking to the daily fingerprints from your children.  

Another thing to remember: light changes constantly, so a shade that looks perfect at noon can turn muddy by dinner. Your walls also complement the other finishes in the kitchen, including cabinets, countertops, backsplash tile, maybe stainless appliances too. 

The paint finish matters as much as the shade itself. A scrubbable, durable paint like those in Vista Paint’s Carefree Line lets you wipe away marinara splatter without needing a touch-up. To avoid any painting regrets, choose the sheen first, then the shade.  
Timeless Whites and Off-Whites

Timeless Whites and Off-Whites

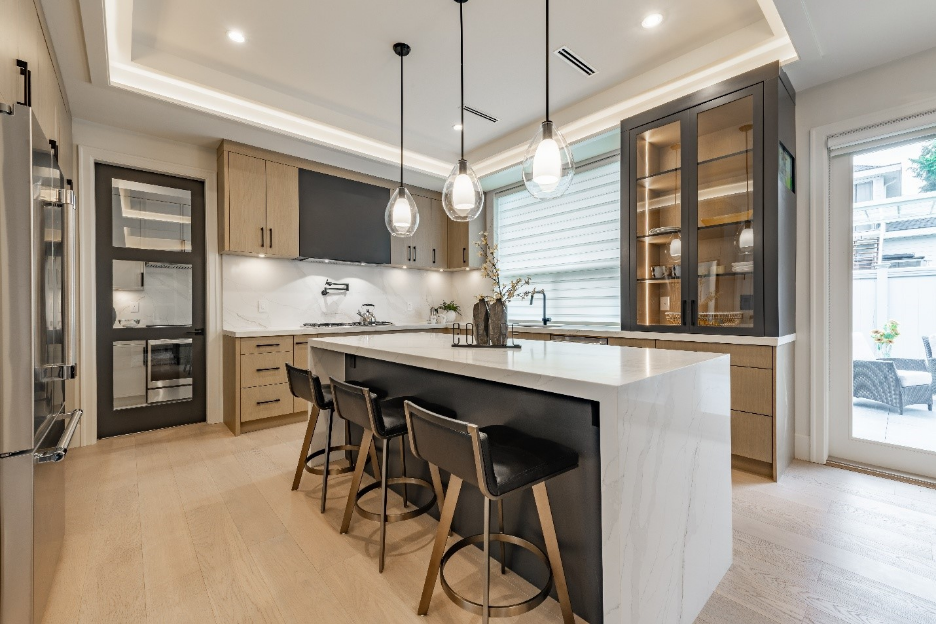
White has always been the default kitchen color as it bounces light around, makes smaller spaces feel bigger, and gives you total freedom with cabinets and hardware. But not all whites are the same, and picking the right white can be tricky. 

  • Dove White 0018 is a warm, muted off-white with subtle taupe undertones. IT looks great on the walls and the trim alike.  
  • Cotton Ball 0007 is a bit brighter as it sits close to pure white with just a touch of cream. It boasts a high light reflectance value of 86, making it the perfect shade for smaller kitchens with only a couple of windows.  
  • Barely White 0021 is a good in-between choice without being too clinical. 

Never forget the undertones and browse the full Whites collection and then order a few chips to tape up next to your cabinets to help you decide. 

Warm Grays and Greige for Kitchens 

Warm gray is a beautiful alternative to a straight gray. The beige undertones keep it cozy under warm kitchen lighting. Many paint brands have built famous names around this shade family, and should you love one of them, Vista Paint carries comparable options. 

  • Lady Nicole 0030 is a soft gray-beige with an LRV of 67 that shifts between gray and warm taupe depending on the light.  
  • Mystic Fog 0019 is a lighter and airier version. A pale grayish-beige that suits smaller kitchens where you want that greige effect without dimming the room. 

One of the best reasons for choosing greige is how well it works with white cabinets and wood tones.  
Earthy Greens and Soft Blues 

Earthy Greens and Soft Blues 

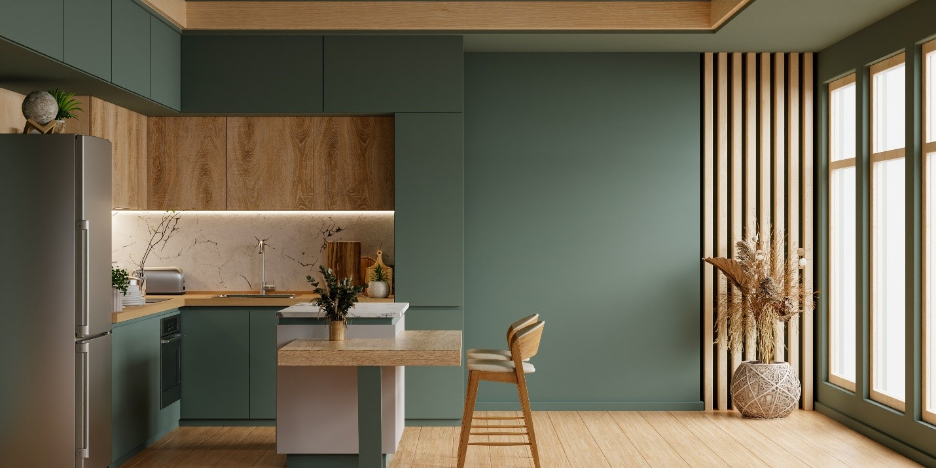
For those who want something more than a basic white or gray kitchen, sage and muted green kitchens are great options. Green gives the kitchen a connection to nature, which calls to many chefs and home cooks who handle fresh food every day.  

  • Plateau 704 is a subdued olive green that complements the butcher block and brass hardware very well. 
  • Meadow Green 7528 is a lighter, calming green with soft blue undertones that keeps the room feeling clean and bright. 
  • Blue Horizon 8272, a light, dusty blue-gray, works well against white cabinets and marble-look counters.  

Browse the full Greens and Blues collections to see the whole range. 
Choosing Colors for Small or Dark Kitchens

Choosing Colors for Small or Dark Kitchens

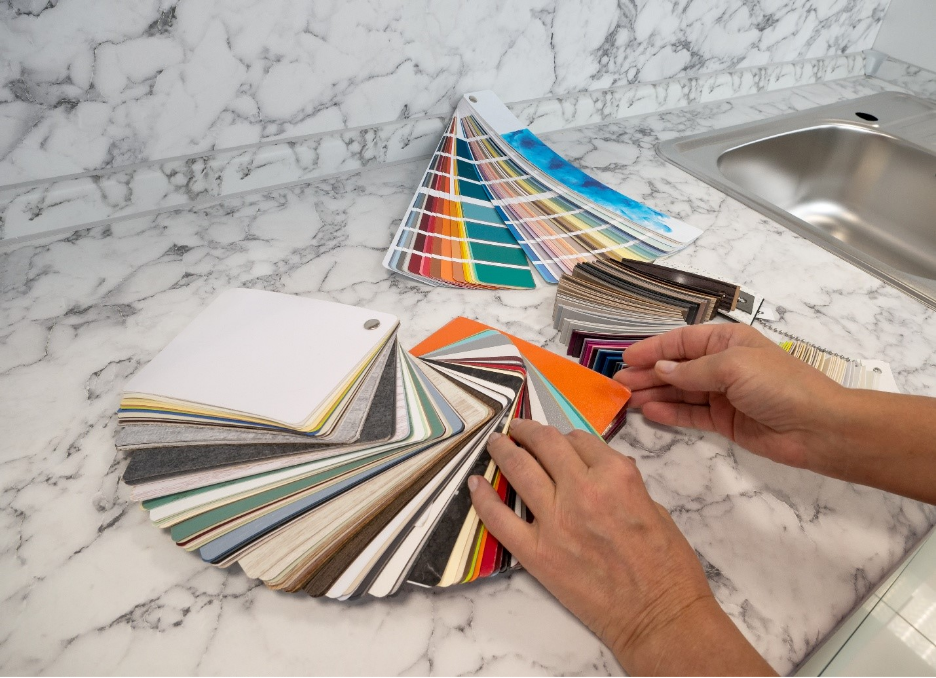
If you have a small kitchen or don’t have a lot of natural sunlight, choosing a bright color is a must. To start, consider the light reflectance value, or LRV. This measures how much light a color bounces back on a scale of 0 to 100. If you are painting a dim kitchen, make sure to keep the LRV above 70. Avoid anything below 50, as it will soak up what little light you have. 

One more quick tip: always test your swatch on two different walls. The best places are the wall facing the window, and the wall beside it, as different locations can make the paint look like a different color. Also, check the paint at different times of the day, including the morning and again at night. 

Don’t Forget Cabinets and Trim 

If you’re painting cabinets along with the wall, the two-tone works perfectly. Choose a deeper shade on lower cabinets, something lighter up top or on the walls. Just make sure the undertones are complementary. A warm greige wall next to a cool gray cabinet will always look slightly off, even if you can’t name why. 

For trim and ceilings, pick one white and use it everywhere to tie the room together. Vista Paint’s color palette page has a compare tool that lets you view two shades side by side, which makes undertone-matching much easier. 

FAQs About Kitchen Paint Colors 

What Is the Most Popular Kitchen Paint Color? 

Warm grays, greige, and soft whites are among the top choices. Colors like Lady Nicole 0030 stay neutral enough to work with almost any cabinet or counter. 

What Paint Finish Is Best for Kitchen Walls? 

Satin or eggshell finishes are often the right balance for resisting moisture and wiping clean without the shine of semi-gloss, which is better saved for cabinets and trim. 

Should Kitchen Walls Be Lighter or Darker Than Cabinets? 

There’s no hard-and-fast rule, but lighter walls with deeper cabinets are a good idea in smaller kitchens to keep the space from feeling tiny and closed off. Only choose darker walls when you have generous natural light and lighter cabinetry to balance them. 

How Do I Test a Paint Color Before Committing? 

The best option is to order physical color chips or paint a large swatch on two different walls, then check it in morning and evening light. 

Sources: 

Bob Vila, “How to Choose a Paint Finish”: https://www.bobvila.com/articles/2253-how-to-choose-a-paint-finish/  
Choosing kitchen paint colors: you want them to look stylish, but that is only part of what to consider. This

Technical Bulletin

View All Products

Long-term coating performance depends directly on proper surface preparation. When surfaces are inadequately prepared, adhesion is compromised and overall service life is reduced Industry studies commonly report that a large percentage of coating failures—sometimes estimated at up to 80%—are linked to inadequate surface preparation that compromises adhesion. Selecting and properly implementing the correct preparation method ensures coating adhesion and maximizes the durability of the coating system.

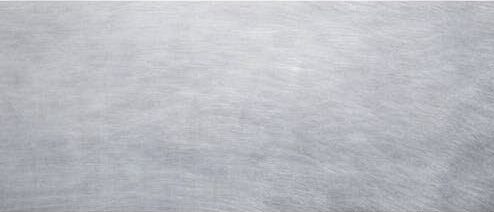
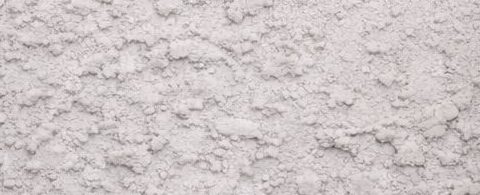
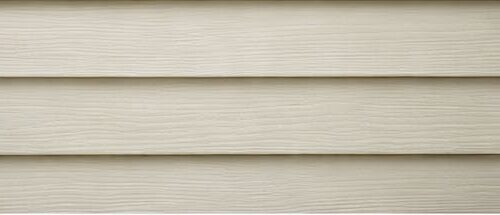
The appropriate preparation method is influenced by substrate type (Figure 1), environmental exposure, coating system selection, and expected service life. Budget considerations, degree of contamination, and jobsite conditions must also be evaluated. This guide serves as a reference for preparation methods and assists in determining the proper approach for specific project conditions.

Wood
Wood
Ferrous Metal (Steel)
Galvanized Metal
Galvanized Metal
Aluminum
Aluminum
Stucco
Stucco
Concrete
Concrete
CMU
CMU
Drywall
Drywall
Vinyl

Labor associated with preparation and application typically represents the largest portion of total project cost, often exceeding material costs. Labor costs have increased at a faster rate than material costs in recent years. These economic factors further emphasize the importance of proper specification, inspection, and quality control to achieve long-term performance.

New Substrates

All surfaces must be properly cured, clean, dry, and free of any contaminants that can interfere with coating adhesion. Repair cracks, voids, and imperfections with suitable patching compounds and allow repairs to cure prior to coating application.

  • Drywall: Joint compounds must be fully cured and properly sanded. Fill cracks and holes with patching compound and sand smooth. Remove all sanding dust prior to priming with High Build PVA Sealer No. 1100.
  • Plaster: Allow to cure for 30 days and confirm it has hardened before coating application. If painting cannot be delayed, allow a minimum of 7 days drying time and prime with Uniprime II No. 4600.

    Soft, porous, or powdery plaster should be treated with a solution of 1 pint household vinegar to 1 gallon of clean water to help neutralize surface alkalinity. Repeat as necessary until the surface hardens. Rinse thoroughly with clean water and allow to dry completely before priming.
  • Brick, Concrete, Masonry, and Stucco: Allow to cure for 30 days. The pH must be 10 or lower prior to coating. Remove bond breakers and all form release and curing agents. Smooth masonry may require an adequate profile for adhesion. Remove all loose aggregate and debris. If coating must proceed prior to full cure or if pH exceeds 10, allow a minimum of 7 days curing and apply an alkaliresistant primer such as Uniprime II No. 4600.
  • Concrete Masonry Units (CMU – Concrete Block, Cinder Block, Split-Faced Block): Block mortar joint should cure for at least 30 days. Remove efflorescence. Prime the surface with 100% Acrylic Block Filler No. 018.
  • Fiber-Cement: For factory-primed fiber-cement, clean the surface thoroughly, then caulk the butt joints before applying the topcoat. For unprimed fiber-cement, start with a primer such as Uniprime II No. 4600, followed by caulking the butt joints and applying the topcoat.
  • Tannin-Rich Wood (Cedar, Redwood, etc.): Remove mill glaze with sandpaper to open the pores of the wood. Remove sanding dust then prime the surface with Carefree Prime-ZALL No. 8000. If tannin bleed is severe, a second primer coat may be necessary. Allow the first coat to dry for 24 hours before applying the second coat. For exterior applications, prime all exposed wood surfaces—especially edges and end grain—to reduce moisture intrusion. Where accessible prior to installation, prime undersides and backsides to help limit moisture absorption and improve dimensional stability.
  • Wood and Engineered Wood Products:
    Lightly sand to remove mill glaze and surface imperfections. Remove sanding dust then prime the surface with Uniprime No. 4000. For exterior applications, prime all exposed wood surfaces— especially edges and end grain—to reduce moisture intrusion. Where accessible prior to installation, prime undersides and backsides to improve dimensional stability.
  • Steel: Minimum surface preparation is Hand Tool Cleaning per SSPC-SP2. Remove all oil and grease from the surface per SSPC-SP1. For better performance, use Commercial Blast Cleaning per SSPCSP6. Prime prepared steel the same day using Protec Metal Prime No. 9600 to minimize flash rusting.
  • Shop-Primed Steel: Shop-primed steel coatings vary widely in quality, resin type, and film build, so any factory-applied primer should be assessed carefully to confirm its condition and whether it’s suitable for additional coatings. These primers are typically meant only for short-term protection during storage and transport, not as a full corrosion-resistant system. Because handling and shipping often introduce surface contamination, thorough cleaning is essential before recoating. Any damaged or bare areas should be repaired with a compatible primer following SSPC-PA 1. For exterior conditions, long-term performance may require applying a full coat of a corrosion-inhibitive primer rather than relying solely on the shop coat. Always verify that the field-applied coatings are compatible with the existing shop primer. After proper surface preparation, spot-prime any rusted areas with Protec Metal Prime No. 9600.
  • Galvanized Steel: Remove oil, grease, and contaminants per SSPC-SP1. Hot-dipped galvanized and galvannealed steel is often treated with passivation agents (chromates or silicates) to prevent premature oxidation. These treatments can interfere with coating adhesion. Where passivation is present or suspected, adhesion testing is recommended. If adhesion is inadequate, light abrasive or brush blasting per SSPC-SP16 may be required to promote mechanical bonding. Rusty galvanizing requires a minimum Hand Tool Cleaning per SSPC-SP2. Prime prepared areas the same day using Metal Pro Primer No. 4800.
  • Aluminum and Other Non-Ferrous Metals: Remove oil, grease, and contaminants per SSPC-SP1. Lightly abrade to remove oxidation and create a uniform anchor profile without damaging the substrate. Remove residue and prime the same day using Metal Pro Primer No. 4800.
  • Vinyl and Other Architectural Plastics: Clean thoroughly using warm, soapy water. Rinse and allow to dry completely. Prime with Polytec Primer No. 8600.
 

IMPORTANT: For exterior applications, primers should be topcoated within 14 days. If this window is exceeded, clean surfaces thoroughly before applying the finish coat.Gaps between windows, doors, trim, and other through-wall openings should be filled with the appropriate caulk or sealant after priming the surface.

Previously Painted Surfaces

WARNING! If you scrape, sand or remove old paint, you may release lead dust. LEAD IS TOXIC. EXPOSURE TO LEAD DUST CAN CAUSE SERIOUS ILLNESS, SUCH AS BRAIN DAMAGE, ESPECIALLY IN CHILDREN. PREGNANT WOMEN SHOULD ALSO AVOID EXPOSURE. Wear a NIOSH-approved respirator to control lead exposure. Clean up carefully with a HEPA vacuum and a wet mop. Before you start, find out how to protect yourself and your family by contacting the National Lead Information Hotline at 1-800-424-LEAD or log on to www.epa.gov/lead.

Verify the presence of lead-based paint, particularly in buildings constructed before 1978, and confirm that any required hazardous materials assessments have been completed. If lead is identified, presumed, or suspected, any renovation, repair, or painting activities that disturb lead-based paint must comply with the EPA Lead Renovation, Repair and Painting (RRP) Rule, applicable state laws, and required work practices to prevent lead contamination.

Under the RRP Rule, covered work in homes, child care facilities, and kindergartens built before 1978 must be performed by EPA- or statecertified firms using certified renovators and other trained workers as required. These requirements may also apply to in-house maintenance staff and many types of outside contractors. Certified renovators must complete training through an EPA-accredited training provider, and firms must obtain certification by submitting the required application and fee to EPA before performing covered work. Violations of the RRP Rule can result in substantial fines—often severe enough to threaten the financial stability of a company or even force it out of business.

Remove all surface contamination by washing with an appropriate cleaner, rinse thoroughly and allow to dry. Existing peeled or checked paint should be scraped and sanded to a sound surface. Glossy surfaces should be sanded dull. Stains from water, smoke, ink, pencil, grease, etc. should be sealed with the appropriate primer/sealer. Recognize that any surface preparation short of total removal of the old coating may compromise the service length of the system.

Remove loose, peeling, or chalky paint by sanding, scraping, or other appropriate methods. Abrade smooth or glossy coatings to promote adhesion. Apply a test area and allow the coating to cure before performing adhesion testing. If adhesion is inadequate, additional surface preparation or coating removal may be required. If coatings are severely deteriorated, remove to a sound substrate and treat as a new surface. Whether overcoating is feasible depends on the condition and compatibility of the existing coating system.

  • Glossy Surfaces: Sand, degloss, or abrade glossy surfaces to promote adhesion. Remove all dust and residue before applying primer or finish coats.
  • Stain-Blocking: Prime with Carefree Prime-ZALL No. 8000 to block stains. After priming, allow to dry at least 4 hours, then test a small area by applying finish coat. If staining persists, apply a second coat of primer, allow to dry overnight, and retest before full topcoating.
  • Mold & Mildew: Remove mold and mildew by washing with a solution of 1 part household liquid bleach) to 3 parts clean water, or use a commercially available mildew remover per label directions. Test cleaning solutions in an inconspicuous area before use, as some cleaners may discolor existing coatings. Apply the solution, scrub, allow approximately 10 minutes dwell time, rinse thoroughly with clean water, and allow the surface to dry completely before coating.

    CAUTION: Do not mix bleach with ammonia or detergents. Wear protective eyewear, gloves, and protective clothing.

  • Fire Restoration: Thoroughly clean smoke-damaged surfaces. Apply one or two coats of Carefree Prime-ZALL No. 8000 and test a small area for bleeding before painting the entire surface. Always check for compatibility and adhesion to the surface by applying a test patch of 2-3 square feet. Allow to dry thoroughly for one week before checking adhesion.

Key Takeaways

Surface preparation is not a one-size-fits-all process. While cleaning and allowing the substrate to dry are universal requirements, each substrate requires a focused approach based on its specific characteristics and condition. Even the best coatings, applied correctly, will not perform satisfactorily if surface preparation is overlooked or not performed properly. Due to variations in substrates, preparation methods, application techniques, and environmental conditions, test the complete coating system for adhesion and compatibility prior to full-scale application.

IMPORTANT: The primer recommendations provided here represent our preferred selections for optimal performance. Alternative primers may also be suitable, depending on the project’s performance requirements and budget.

View All Products Product Name Environment Finish Type Surfaces Tier 013 Acoustic Kote Interior Flat Concrete, Drywall, Masonry Premium Plus