

Metal is one of the more difficult surfaces to paint because most paint doesn’t adhere well to it. It also is prone to rust and oxidizing, so any paint you choose must be able to protect the metal. Preparation is also key to protecting metal with paint. Luckily, Vista Paint has a line of paints specially formulated for use on metal.
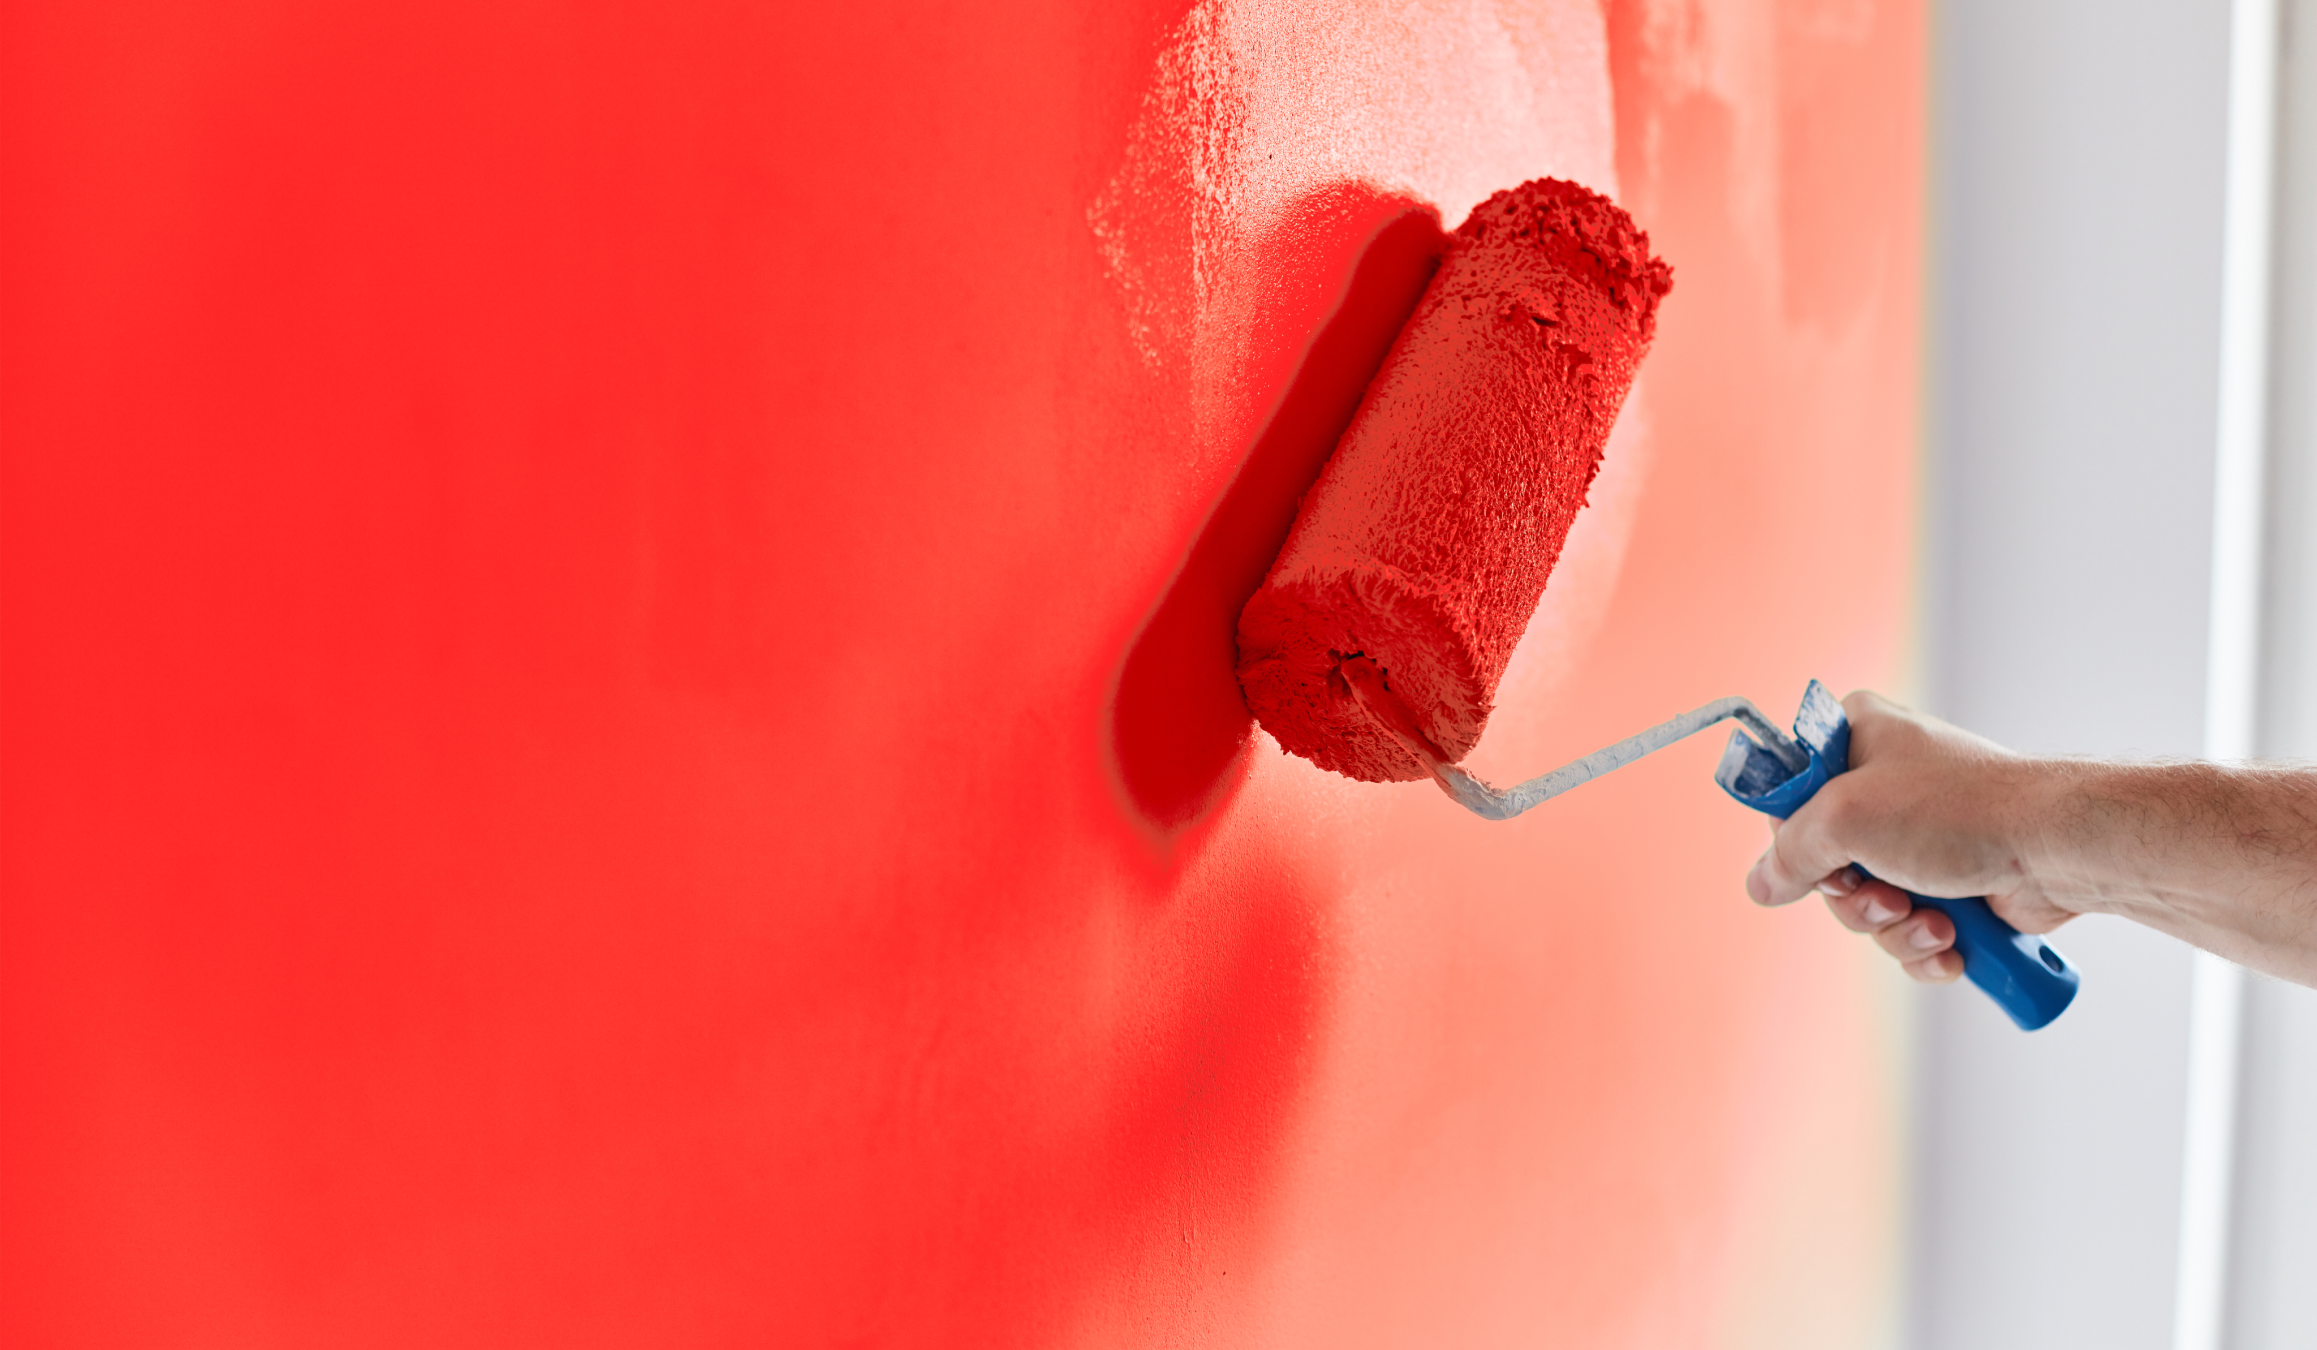
Spray paint is the usual go-to for metal painting, but the application is uneven, which results in a streaky finish. Brush-on paint takes longer but the finished product is much higher quality.
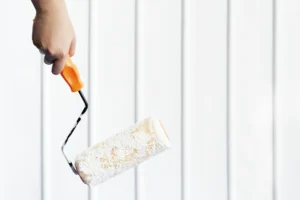
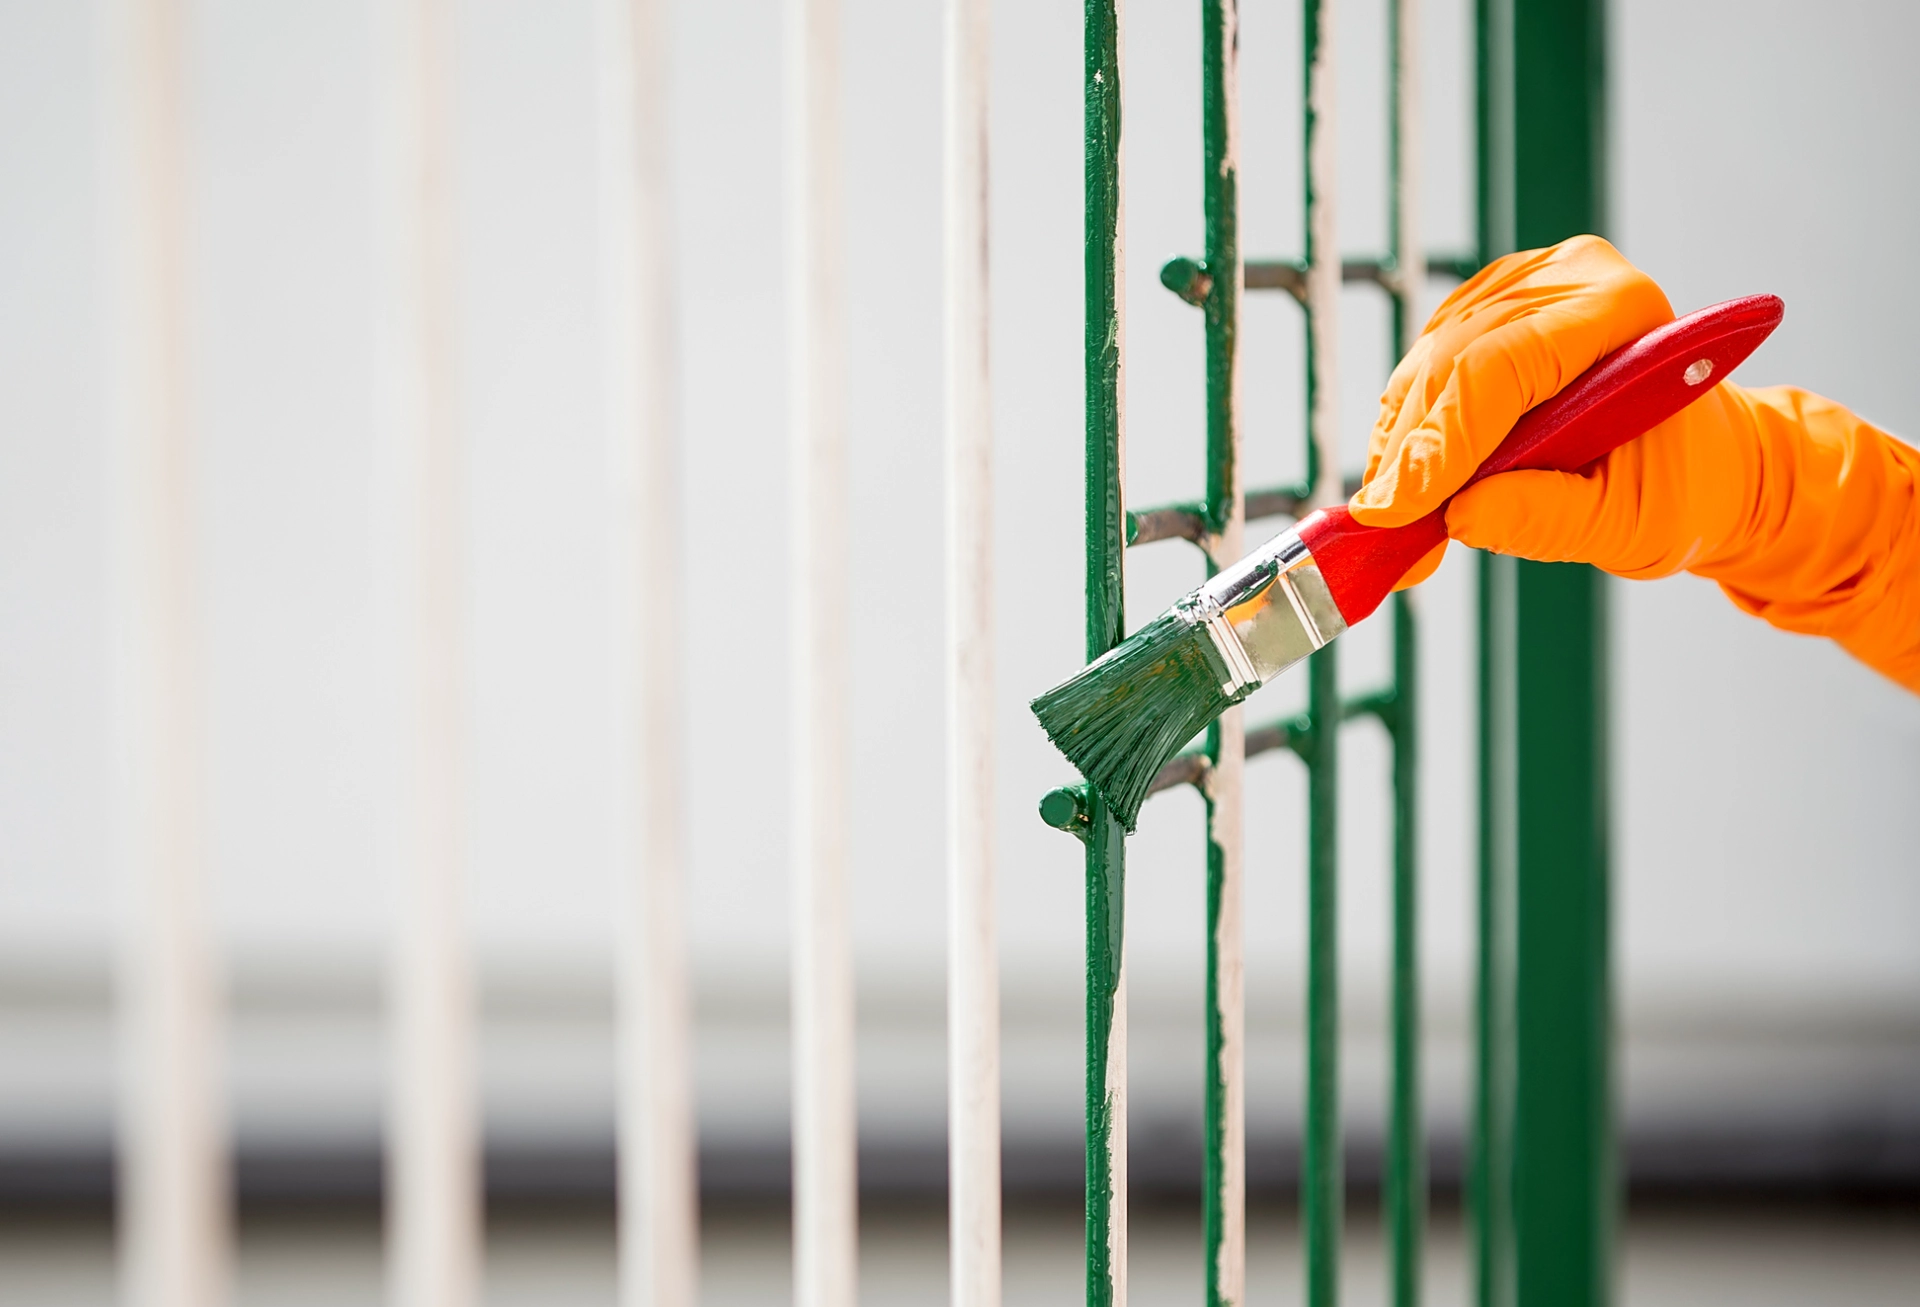
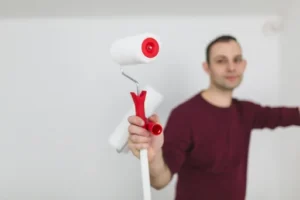
Brushes and paint trays are ideal for painting metal since they make for even application. If the metal has been painted in the past, it will need to be scuffed and cleaned to remove old paint and oil. An N-95 mask is handy here to protect your lungs from particulate matter.
Rust remover and acetone may also be required if the metal has visible rust. Painting over rust will cause the rust to bleed through your new paint, so it should be treated and removed.
You also need to identify your metal as ferrous (containing iron) or non-ferrous. Ferrous metals are steel, cast iron, wrought iron and are often prone to rust. Non-ferrous metals include aluminum, copper, zinc and stainless steel.
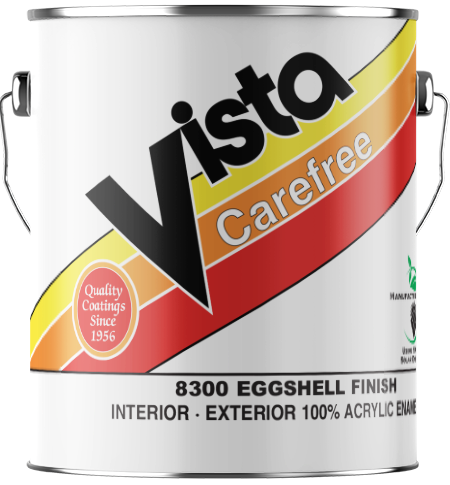
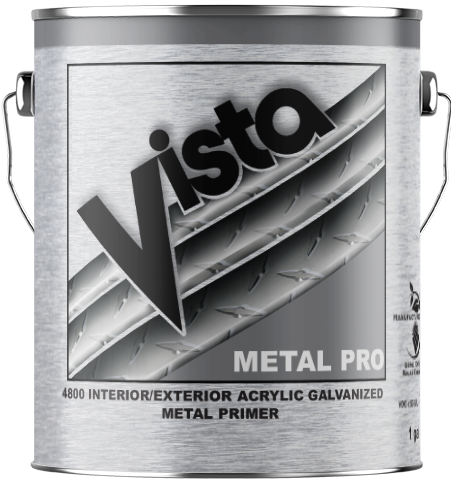
Finally, you need the right primer and paint. Vista Paint recommends 4800 Metal Pro Primer for non-ferrous metals. It protects them from rusting and improves adhesion so the paint doesn’t peel off after application. For ferrous metals, Vista Paint recommends 9600 Protec Metal Prime. This is not recommended for galvanized surfaces, but it does protect ferrous metals from corrosion and improves the overall finish.
For paint, Vista Paint recommends 9700-9800 Protec Metallic, which is formulated especially for interior and exterior metal surfaces. Take care not to shake the container and don’t store it near any open flames.

Once you’ve identified your metal, any old paint will need to be removed with a wire brush. A heavily rusted area needs rust remover applied to the surface to eliminate any remaining rust and allow it to be scrubbed off the surface.
An acetone-dipped rag can remove grease and oil from the metal’s surface, making it ready to receive primer.
Scuff the metal if it’s smooth with a scuffing pad. This gives the primer something to cling to. Scuffing isn’t necessary for corroded surfaces as they are already rough to the touch and will hold primer readily once prepared.
Galvanized metal has zinc in it, so scuffing galvanized metal can actually remove the zinc layer, leading to further rust in the future. Galvanized metal shouldn’t be scuffed or sanded. Wear an N-95 mask while scuffing metal to avoid inhaling particulate metal.
Priming metal seals away any rust and protects it from future damage. It also acts as a moisture barrier, preventing the introduction of new rust. Make sure to choose the right primer for your metal. Make sure your primer is compatible with your intended paint.
Read the label carefully to review drying times and cure times. If you paint over the primer before it’s ready, then your paint can peel or flake. By following the instructions to the letter, you will get the best results out of your paint.
Metals going outside may need a second coat to provide extra protection against oxidation. Apply the primer evenly, making sure that everything is covered. Primer can be white or rust colored.
Once the primer has dried fully (out of direct sunlight and wind), you can add your paint. Apply the necessary number of coats for the coverage and color saturation you’re wanting. Allow the paint to dry between coats. It will need at least 36 hours to fully dry. Make sure it’s not exposed to direct sunlight while it dries.
Highly pitted metal may not be structurally sound enough to take paint.
Metal paint both decorates and protects metal from further corrosion. For metal paint indoors, the environment is generally regulated unless the metal is stored in a bathroom or garage. Metal outdoors is exposed to varying levels of moisture, sunlight, temperature swings and more.
By painting the metal, you are protecting your item for the long term. Furniture with metal parts will resist corrosion and rust, making them structurally safe and sound.
While most metal primers are either white or rust-colored, you have a lot of options when choosing a color for your paint. Metal paint tends to look better with a matte finish so it looks powdery. Some pigment can include iridescence or a little gloss to add a shiny finish.
Consider how your chosen color will look in different lighting and how it will function. Metal furniture, for example, may need a lighter color so it’s less hot to the touch while metal frames can use darker colors to best effect.
Prepare the metal outside if you can – that includes scuffing. This makes for easier cleanup. If you have to scuff indoors, then use a drop cloth and a shop vacuum to clean up any residue so your final product is clean and easy to paint.
If you’re painting outside, avoid painting in direct sunlight. Heavy sun can dry paint too quickly, leading to your final product drying with streaks. Avoid painting in the wind for the same reason. Wind can also blow debris onto your wet paint, giving you a new area you may have to sand and repaint.
Metal paint is a colorful alternative to clear coats and can customize your outdoor furniture, interior decorative pieces and wrought iron fencing to your liking. A fresh coat of metal paint not only preserves your items for future generations, but it improves the appearance and texture. Think about the times you’ve touched rusty metal – or worse, sat on a rusted chair. A fresh coat of paint will make everything more visually appealing and practically useful.
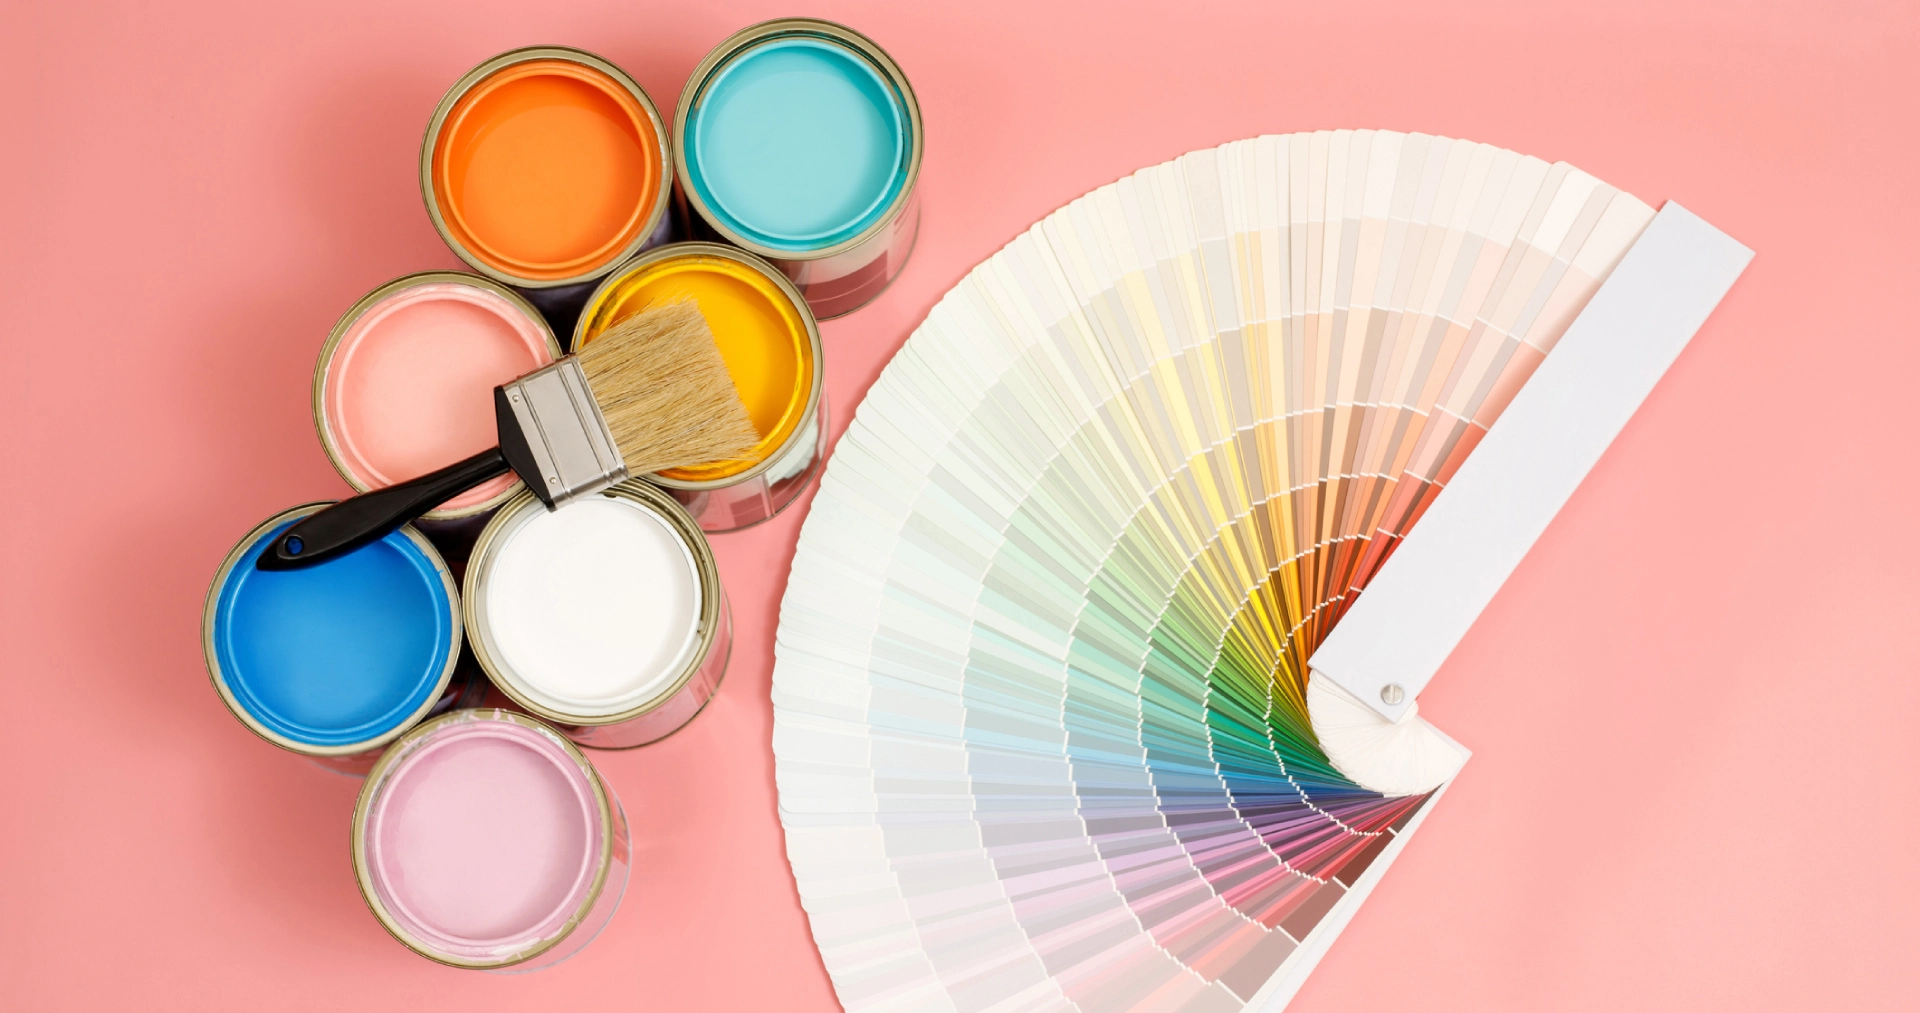
Are you looking to freshen up your home’s interior in the new year? Luckily for you, now is the perfect time to start a paint project. It will be easier to paint and ventilate your home as the weather is warming up, and then your space will be in tip-top shape just in time for all the parties, hosting, and gatherings that happen during the summer months. So now that you’ve decided that it is the perfect time to dedicate some time and money to an interior paint project, you just need to find the right paint. The only problem is that choosing paint is a lot easier said than done, right?
Luckily, we’ve compiled some of our favorite spring paint colors that are going to be very popular this year. No matter what your personal interior design style is, there should be a paint color that will match anyone’s interior space. And maybe you’ll be creatively inspired and decide to go with a newer, bolder paint color this year! So, without further ado, here are our must-have spring paint colors from Vista Paint.
 |
Lightest BlueStart off your spring season with the lightest, airiest blue. This blue will make your room feel large and trendy. This blue also has a slightly warm gray undertone, making it a new neutral to match with bolder colors. Options from Vista Paint are Surf, Cool Sky, and Simple Serenity. |
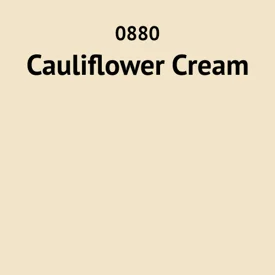 |
Creamy YellowBright, bold yellows haven’t been popular for a few years, but this creamy yellow is definitely going to turn some heads this season. Imagine a warm cream color that has just a touch more yellow than most creams or ivories. This light yellow can make any space feel cozy and inviting and well feel fresh and timeless at the same time. Options from Vista Paint are Cauliflower Cream, Perky Tint, and Honey Cream. |
 |
Beige-y PeachThis peach isn’t as pink or rosy as other shades of peach. Instead, this peach is a little more faded with beige and tan undertones. While it brings warmth and a fun color pop, it isn’t too overwhelmingly pink. Options from Vista Paint are Wispy White, Apricot Spring, Shooting Star, and November Leaf. |
 |
Pastel LilacDon’t forget to add a touch of purple! This pastel lilac will be perfect for this time of year. It is just light and bright enough to make your space feel open and clean, but it also has enough color to stay current and popular through the summer. Options from Vista Paint are Venetian Rose, Baby Girl, Pink Heath, and Pink Beauty. |
 |
Pink BeigeIf you want a more subdued peach option, you might like a pink beige instead. This color is a light, creamy tan with the slightest hint of pink. This adds a romantic, feminine touch to the color that makes any space feel bright and unique. Options from Vista Paint are Angel Breath, Sand Island, Dainty Debutante, and Antoinette Pink. |
 |
Muted NavyTo achieve more depth and variation, include a muted navy. This won’t be as dark or as bold as a traditional navy but instead will be a little bit lighter with a faded touch. This gorgeous color can pair well with any of the light, springy colors above. Options from Vista Paint are Blue Jacket, Madonna Blue, and Blue Depths. |
 |
Deep Olive GreenFinally, to add some contrast to your décor, fall in love with this deep olive green. In past years, sage green and light olive have been popular, but this year the depth and drama of deep olive green are here to stay. Options from Vista Paint are Mother Nature, Clover Patch, and Green Column. |
If you’re looking for a gorgeous, vibrant paint color that has been trending as of late, there are probably a number of paint stores that could mix it up for you. However, if you also want your paint to have increased durability and scratch-resistant qualities, you probably shouldn’t shop at just any old big box store. Shopping at a specialized paint store that is known for the quality of its product will help you to get the results that you really want to see from your paint job.
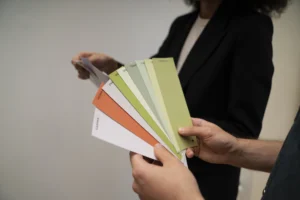
When you buy your paint from Vista Paint, you’ll always get affordable and long-lasting paint without sacrificing any quality. Their paint products are designed to be fade, scratch, and damage-resistant, making them a good fit for any home, even if you have lots of pets or kids. Vista Paint also puts a lot of work into creating and obtaining the most beautiful paint colors to keep up with timeless shades and current trends. To find the right color for your space, simply view their color palette and browse their products to find the color and quality you’re looking for. You can easily order paint color chip samples by filling out this form on their website. This could be especially helpful if you’re having difficulty deciding between multiple gorgeous colors for your space!
When you’re going to be painting by yourself, you’ll have to spend some time researching what supplies you’ll really need. One of these essential supplies might be primer. With certain types of paint, using a paint primer is the only way to guarantee that your paint will successfully and permanently adhere to your given walls or ceiling surfaces. There are different types of primers that pair perfectly with different types of paints, depending on the base of the products. You might also choose a particular primer depending on the type of material that you’re painting. A primer needed for a wood painting project will be different than a primer needed for drywall. For example, oil-based primer works really well on unfinished drywall surfaces.
To learn what additional supplies you’ll need to complete your painting project, check out our blog article on painting supplies!
Painting new drywall can be an invigorating (and nerve-wracking) experience. Drywall is a commonly used construction material that creates the shape of the walls and ceilings in most homes in the United States. Drywall has unique textures and absorption qualities that can make your painting experience differ a lot compared to painting wood, brick, or other materials. So, if you’re painting drywall in your home, you need to have the right tools and materials for your painting project to be successful. Whether you’re finally working on your unfinished basement, building your new construction home, or refreshing your long-time fixer-upper, you’ll need to know how to prep your drywall before painting it.
One of the most important steps to help you get a smooth, even result from your paint is to prep your drywall with a coat (or multiple coats) of primer. In this article, you’ll find all the tips you need when it comes to painting drywall, including where you should buy all the painting supplies you’ll need for your project. So, read on, and good luck with your drywall and paint!
If you don’t have a lot of painting experience, you might wonder what primer is or why you need to use it. Primer is a material that prepares your surface to properly adhere to the paint you’re going to put down. It is a base coat that will not only give your drywall a protective layer, but it will also help your paint to go on much more easily, smoothly, and evenly. Adding primer to your drywall helps your eventual coat of paint to last much longer with increased durability and resistance to any damage or scratches. Without primer, your paint likely won’t be able to sufficiently lock onto the surface of your drywall and might not last as long as you would like.
There are three different types of primers in the painting industry including oil-based primer, pigmented shellac primer, and latex primer. Depending on the type of paint that you plan to use or the type of surface you’re going to paint on, you might need a different kind of primer. For example, when you’re painting on a drywall surface, a latex primer will be the best choice for your product. An oil-based primer won’t work as well on a drywall surface, so pay attention to this important detail when you’re shopping for your painting materials.
Some paint products come with priming materials already mixed in, so you might not always need to use a primer depending on the project you’re working on. Of course, this depends on the product that you’re going to be painting. Because of the absorptive nature of drywall material, sticking to the recommended latex primer will ensure that you get the smoothest, most durable finish after your coats of paint dry.
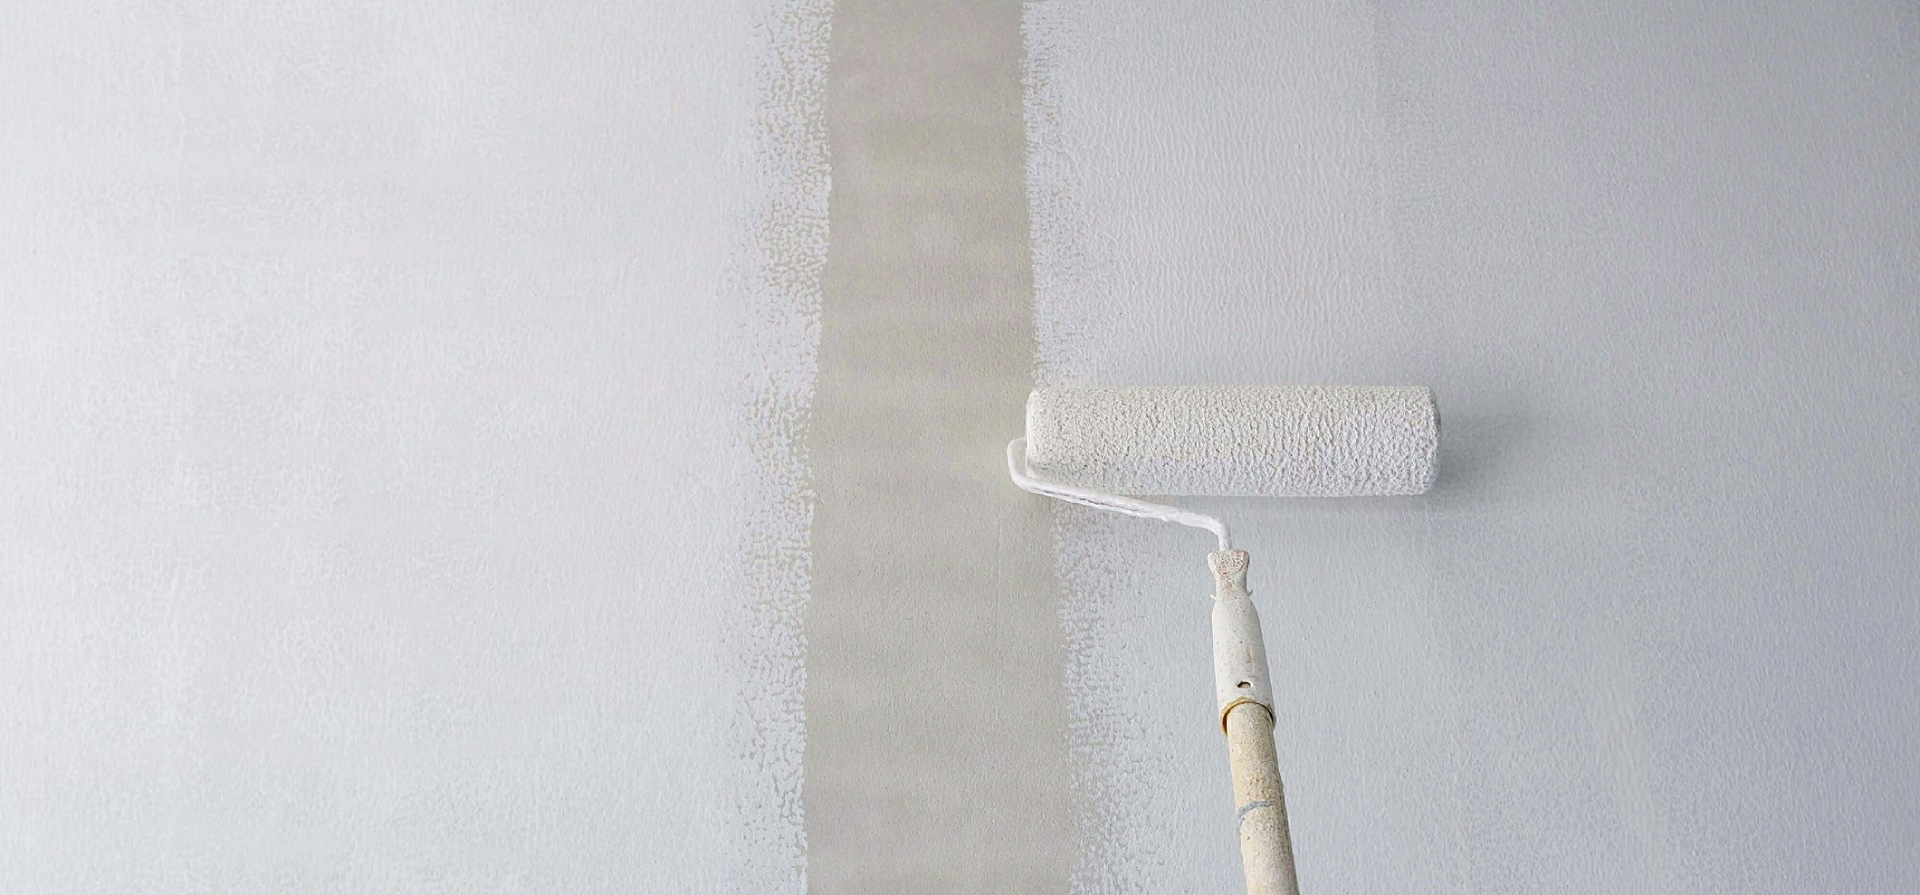
So, how many coats of primer will you need to coat your drywall? When you’re prepping your drywall, you can generally expect to add a minimum of two coats of latex primer. In some circumstances, two coats of primer might even be insufficient to get a bold, even result from your paint job. If your primer looks a little uneven or splotchy after two coats of primer, feel free to add one or two more coats before adding your paint. It doesn’t matter how you apply your primer. You can use a sprayer, roller, brush, or whatever will work best for your painting timeline and process. Just make sure you get the required number of coats of primer spread evenly on the drywall surface. This will make your painting day much easier and smoother!
If you aren’t sure whether you’ve added enough primer to your drywall surface, try adding a small but even portion of paint to your wall. Let it thoroughly dry and then examine it. If it looks splotchy or if it appears to have been absorbed rather than adhered to the surface as it should, that will be a good indication that you should add another coat or two of primer before you keep painting. Remember, drywall acts almost sponge-like as a material, and will unevenly soak up anything that you add to it. So, if you add your primer and texturing details first, the surface should be prepared to adhere to your chosen paint without soaking it up unevenly.
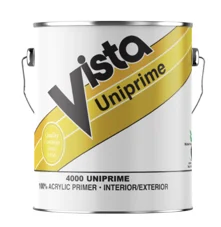
Now that you know why and how you should use primer, you need to know where to shop for your primer. When you want a high-quality primer that won’t require as many coats as cheaper primers, make sure to shop at Vista Paint for your products. They have a variety of primer products for different materials such as wood, metal, and more. Their premium primers are some of their popular products, such as their 7001 Acriglo Interior Primer, which pairs well with Acriglo finishes. For your drywall-painting project, you’ll want to use a latex primer such as their 301 V-PRO 300 Primer. This primer is high-quality, professional-grade, and seals and performs excellently. You might also like to use the 5001 V-PRO 5000 Primer which is the perfect foundation for paint when you’re painting on drywall. Both of these primers are zero VOC, protecting you and your home from any harmful chemicals such as Volatile Organic Compounds (VOCs). When you pair Vista Paint’s primer and paint, you’ll have a smooth, professional-looking finish that is damage-resistant for years to come.
Once you’ve ordered your primer, don’t forget about your paint! Of course, your outer layer of paint is even more visible than your primer, and therefore, even more important to have high-quality, damage-resistant materials to work with. Vista Paint always has paint colors that are trendy, timeless, and in high demand among designers and home decorators. You can order some paint color chip samples by using this online form on their website!