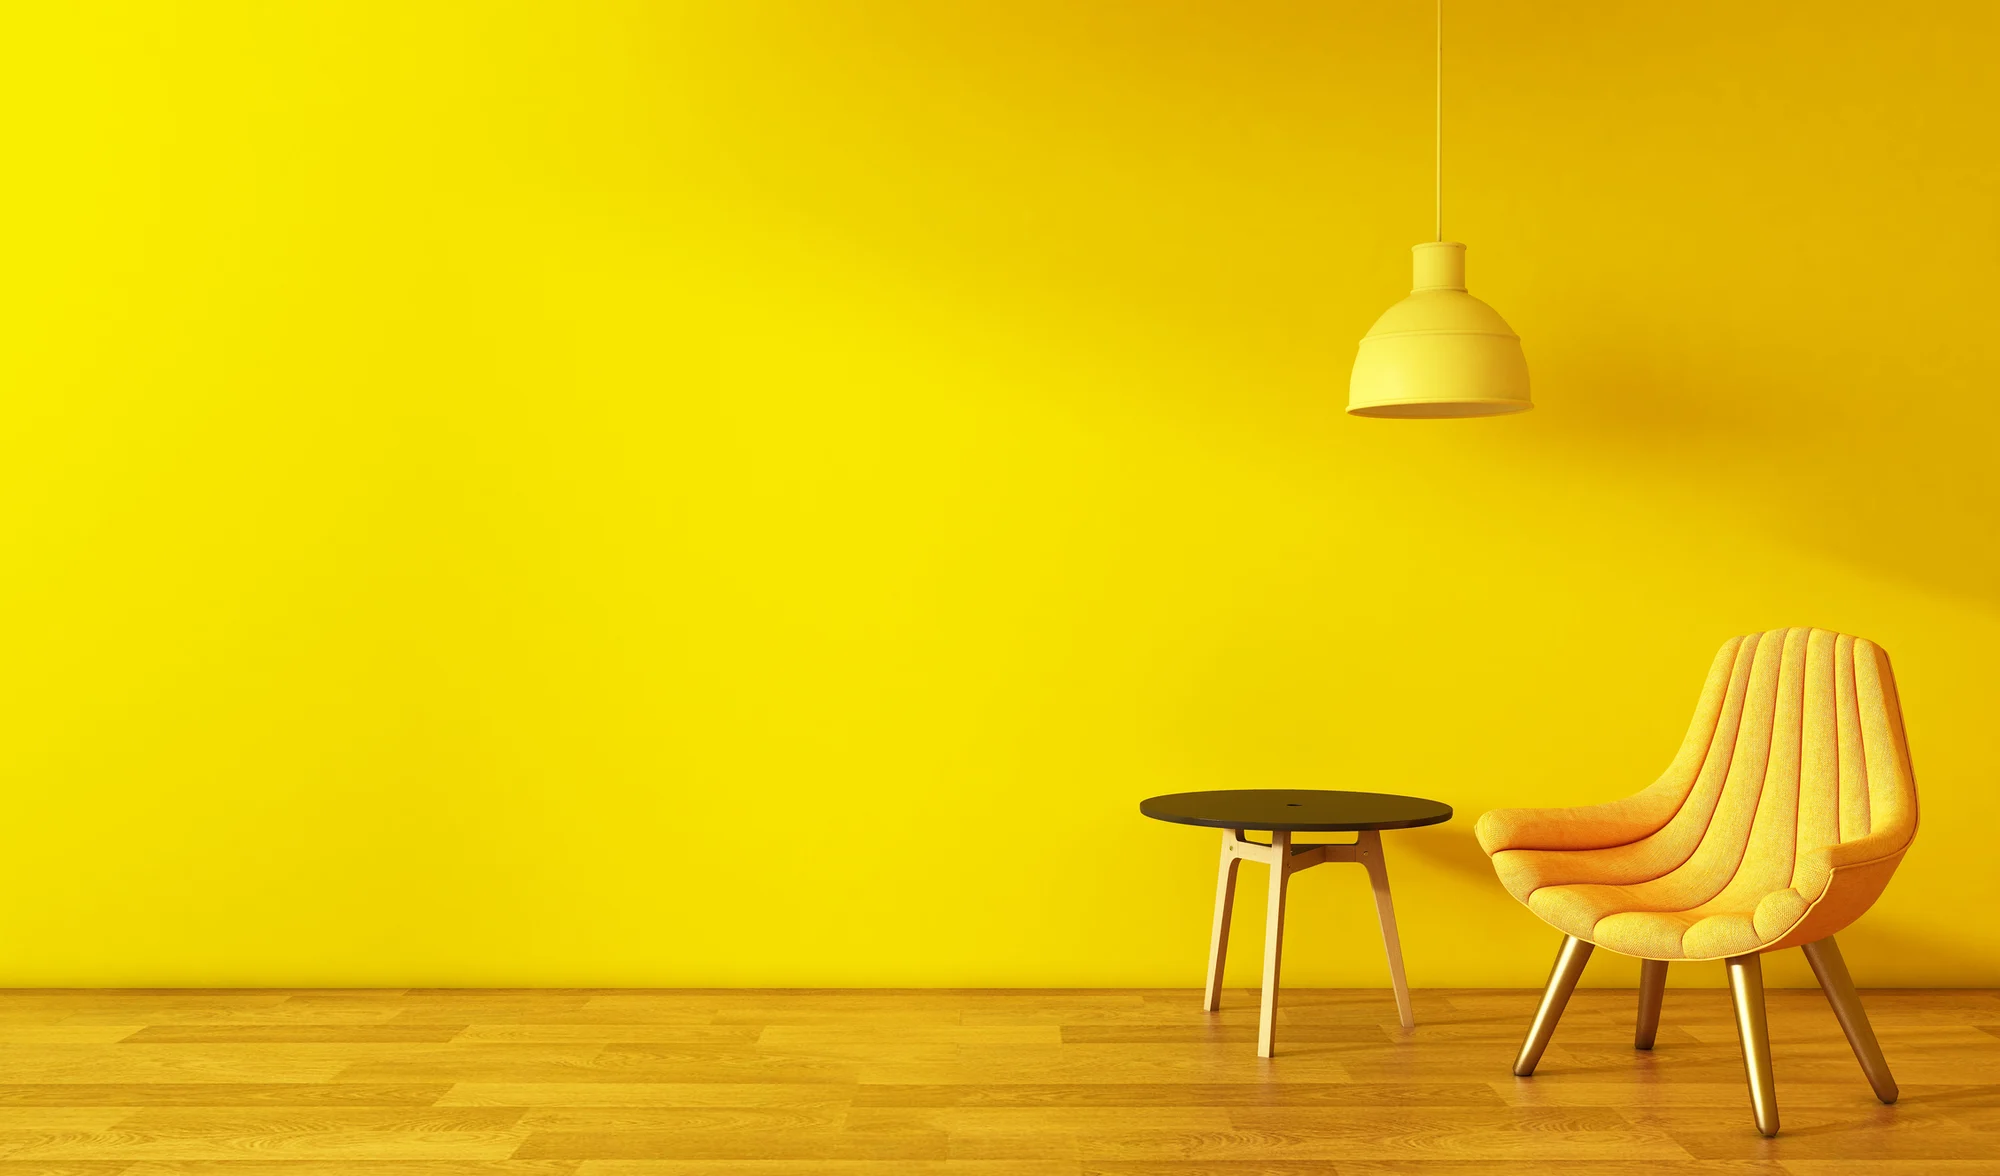
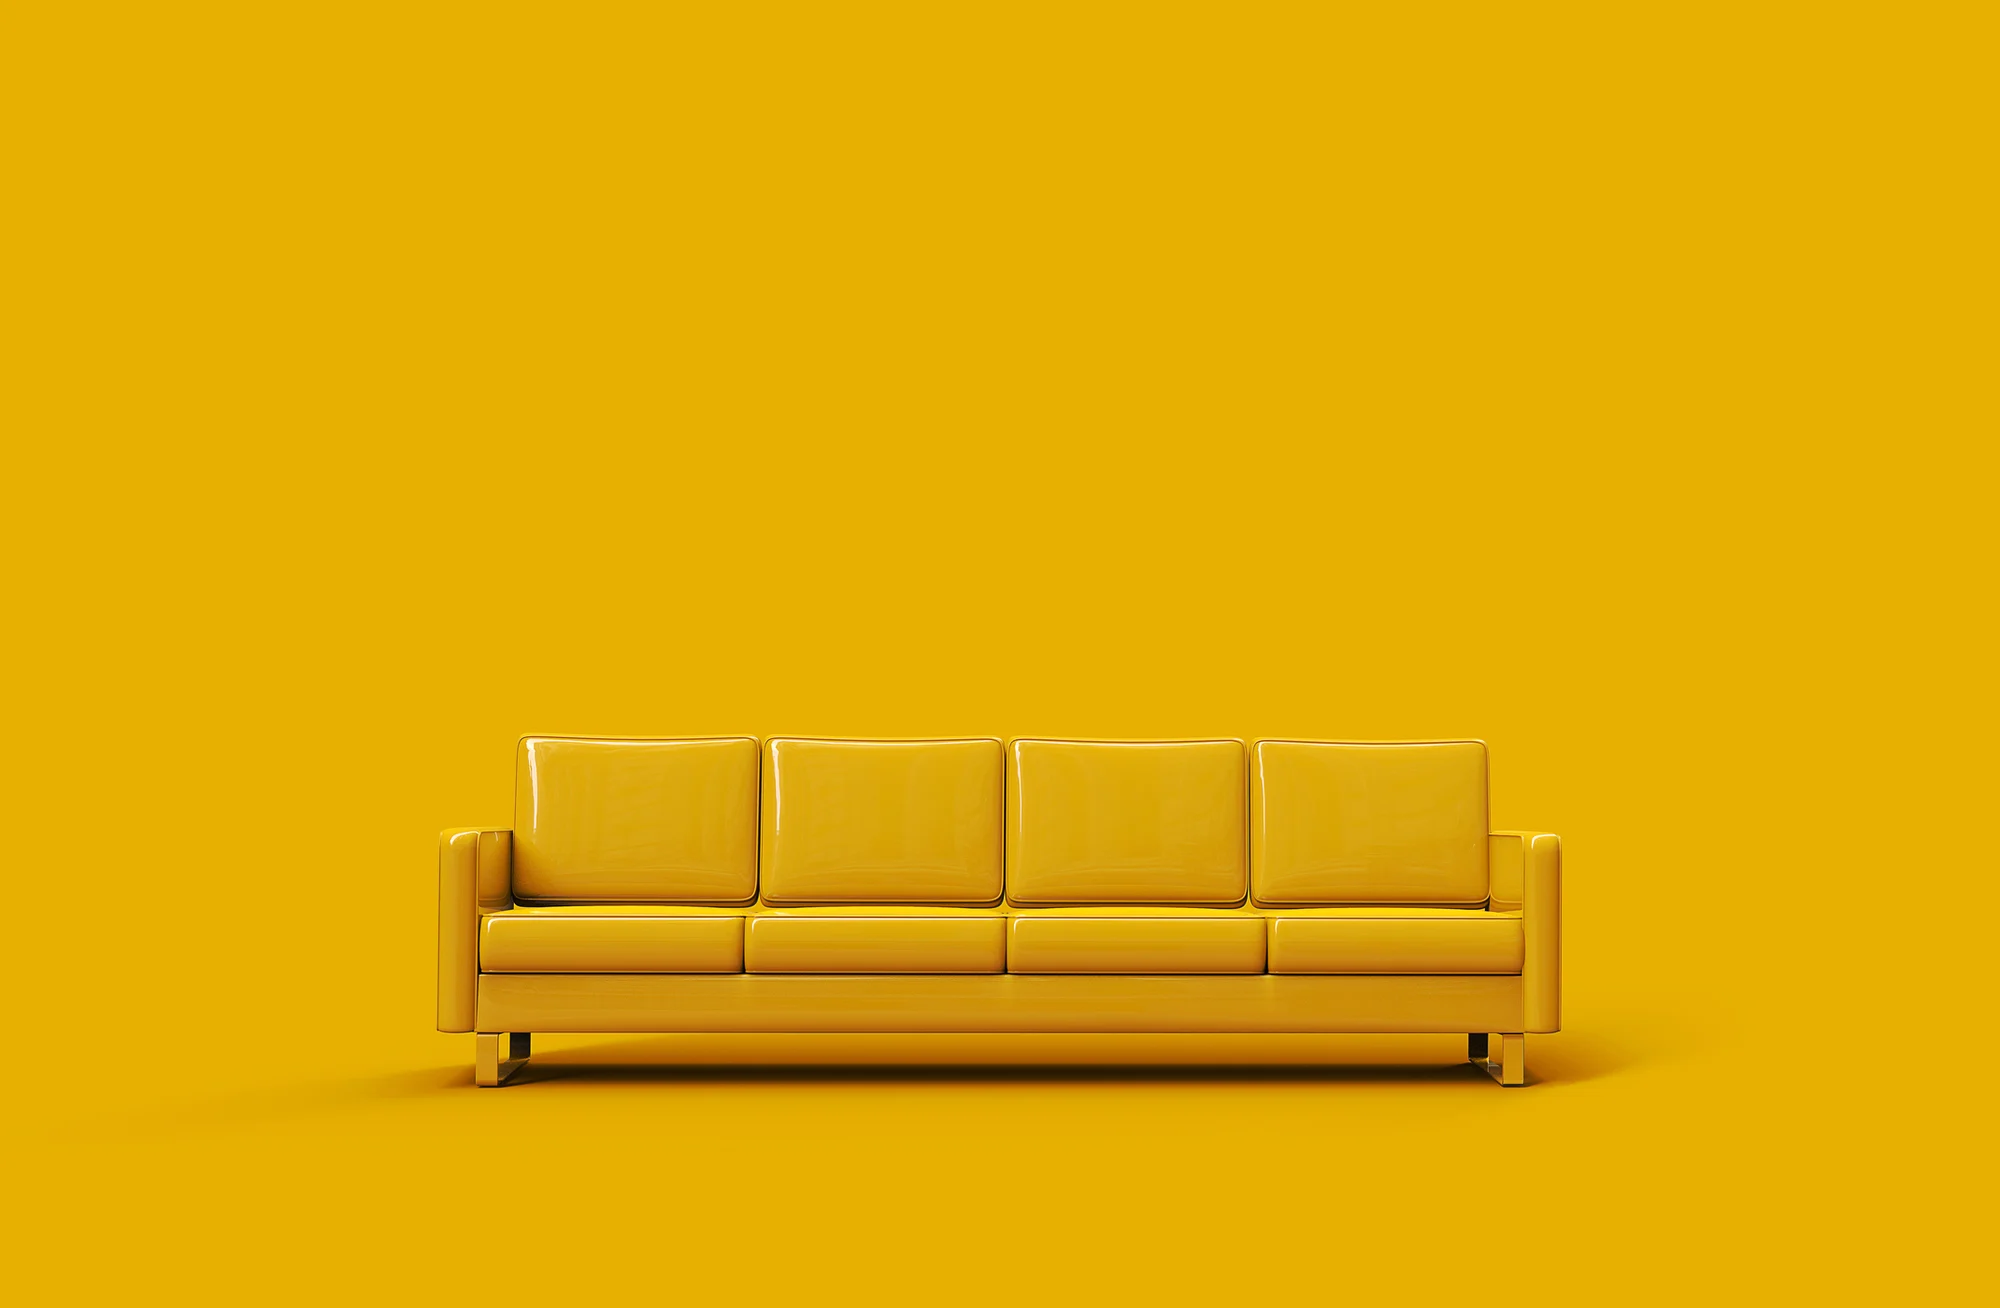
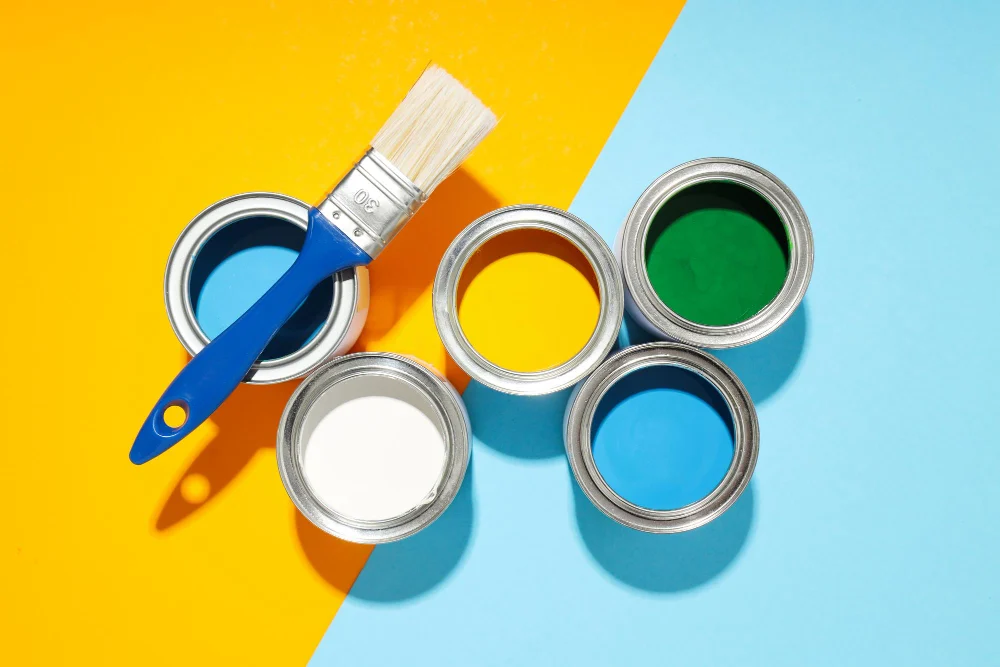
Yellow is the color of positivity, humor, and joy! It embodies the brilliance of the sun, invoking feelings of happiness and optimism. Often associated with energy and enlightenment, yellow is a symbol of clarity and fresh beginnings. It will brighten up even the gloomiest of days, offering a sense of hope and inspiration!
Our Favorites
In nature, yellow can invoke the sense of renewal and growth.
It represents wealth, intellect, curiosity and encourages innovative thinking.
Find your colors?
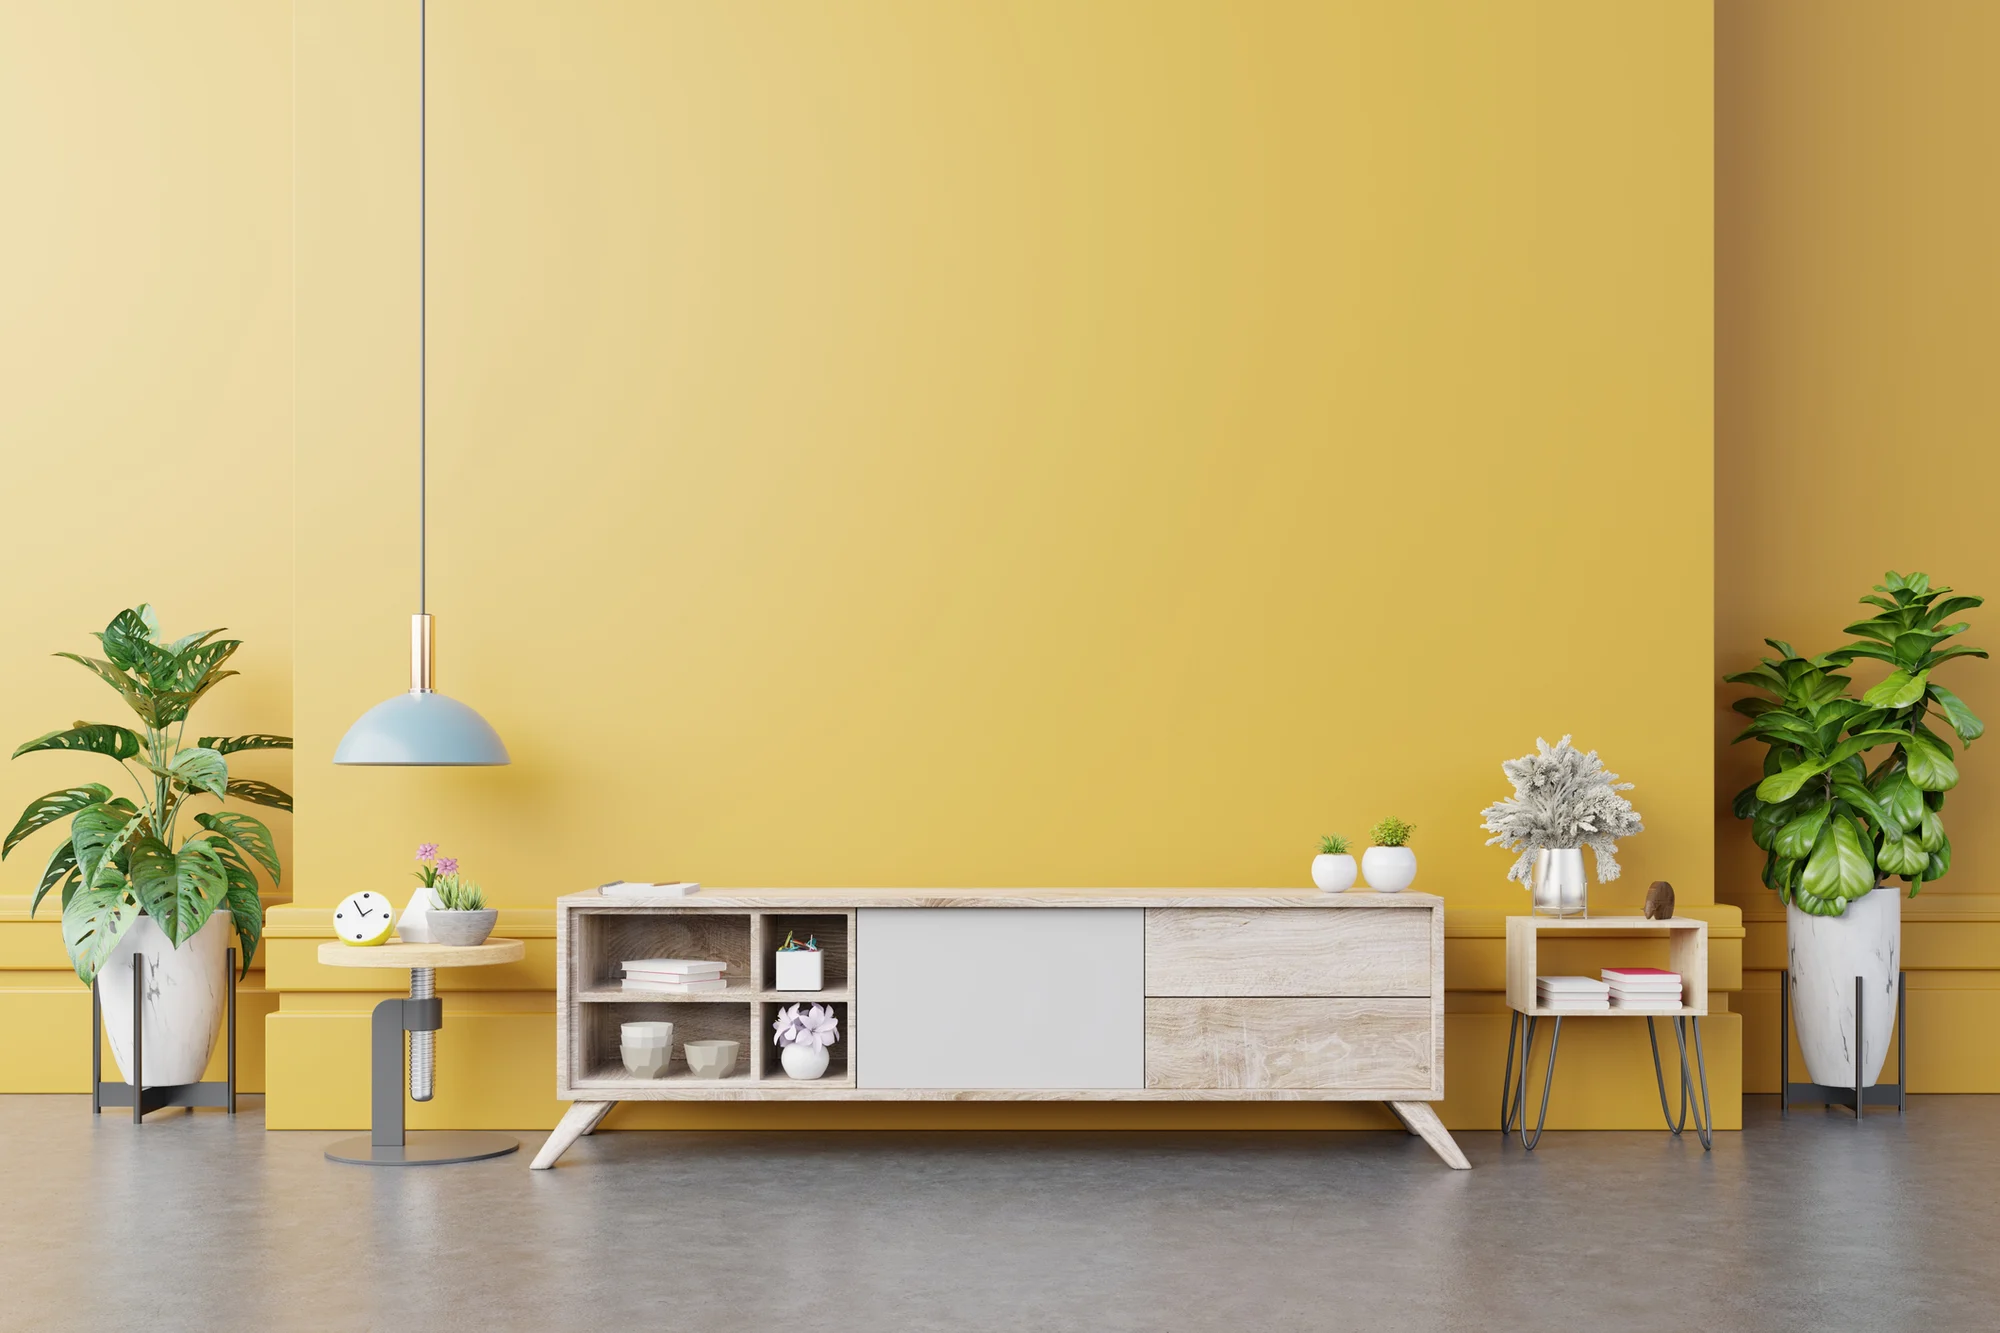
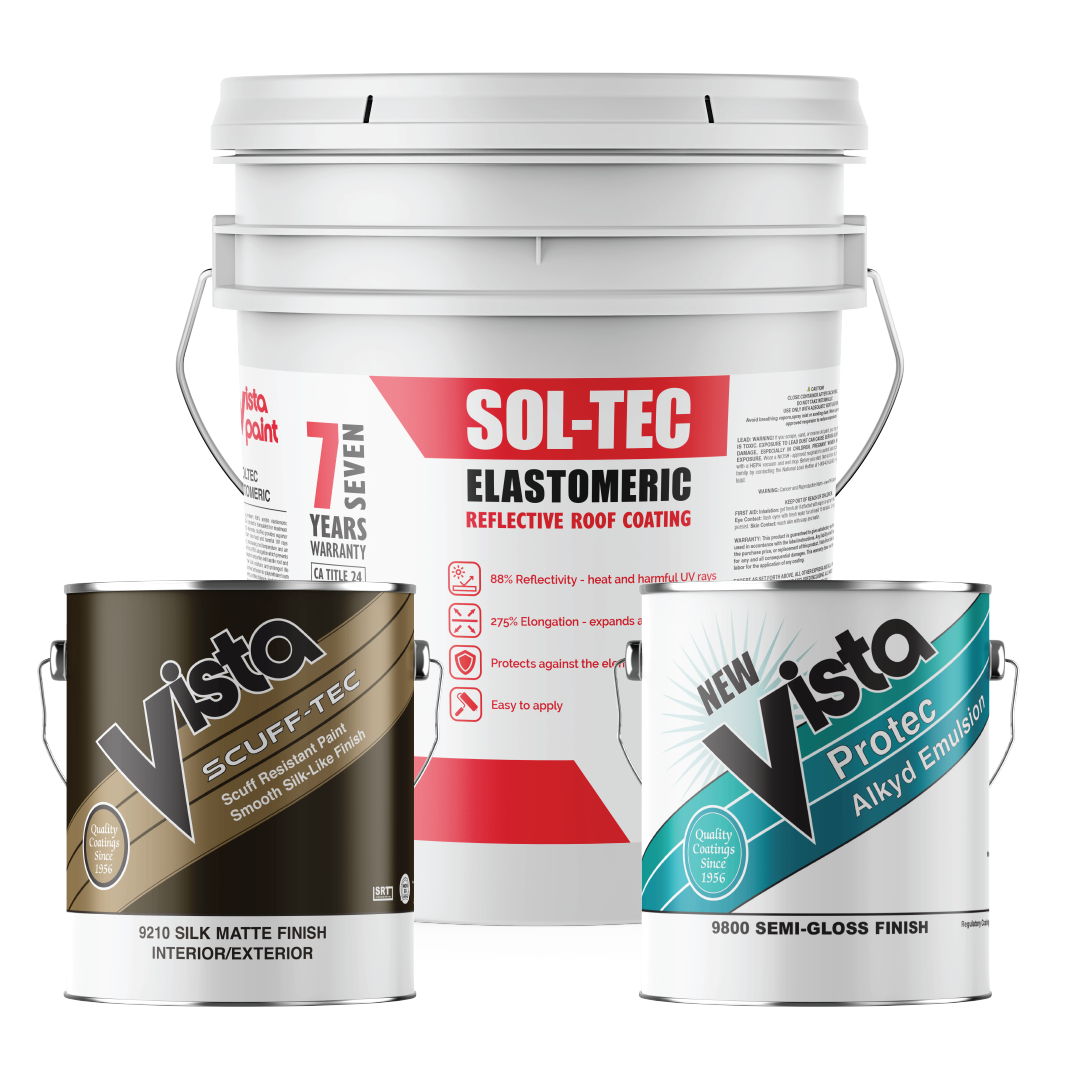
Now that you’ve found the colors you love for your project, take a look at our products! Many of which can be customized to the color of your choosing to ensure your job looks and feels the way you want it to.
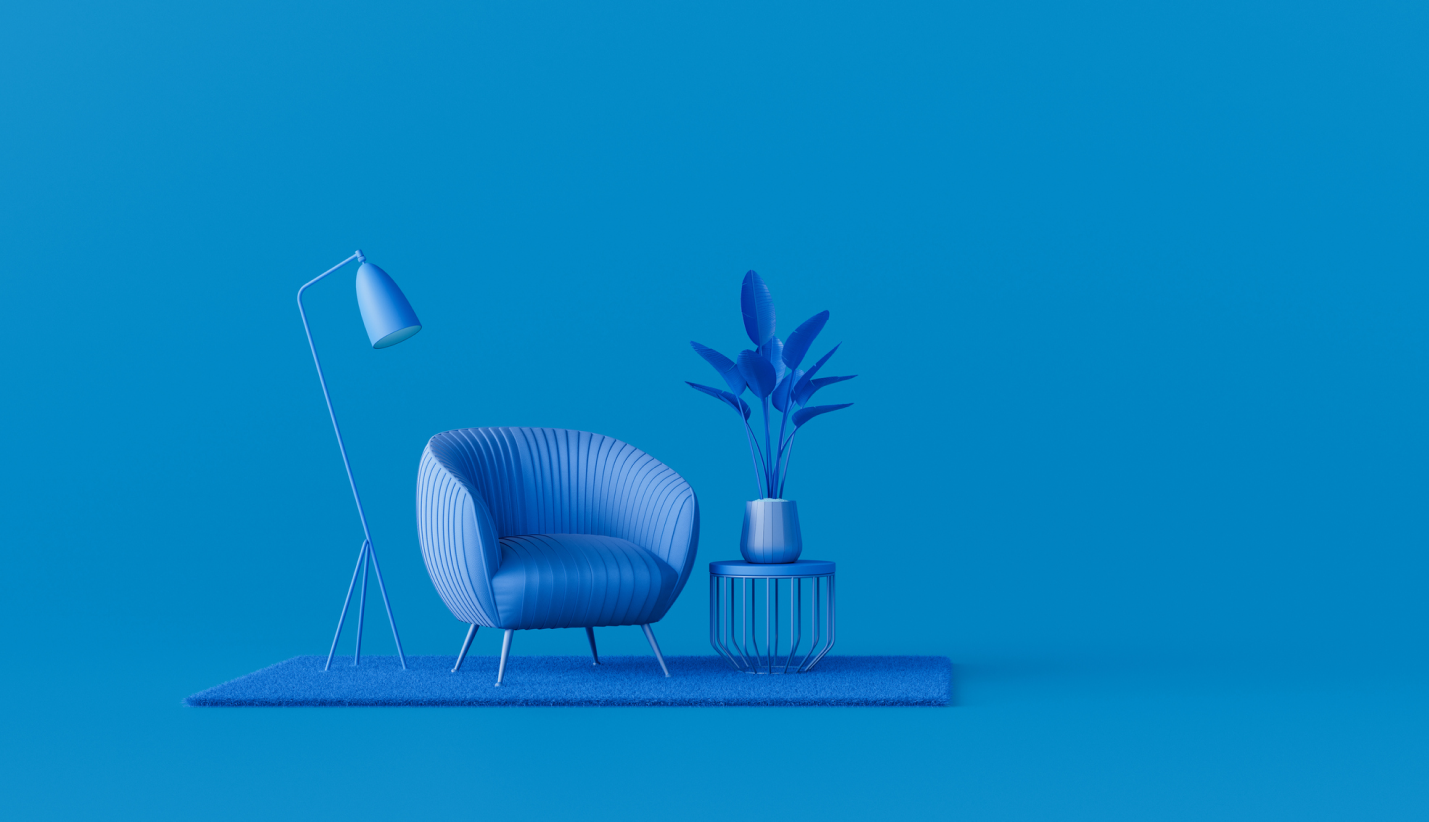
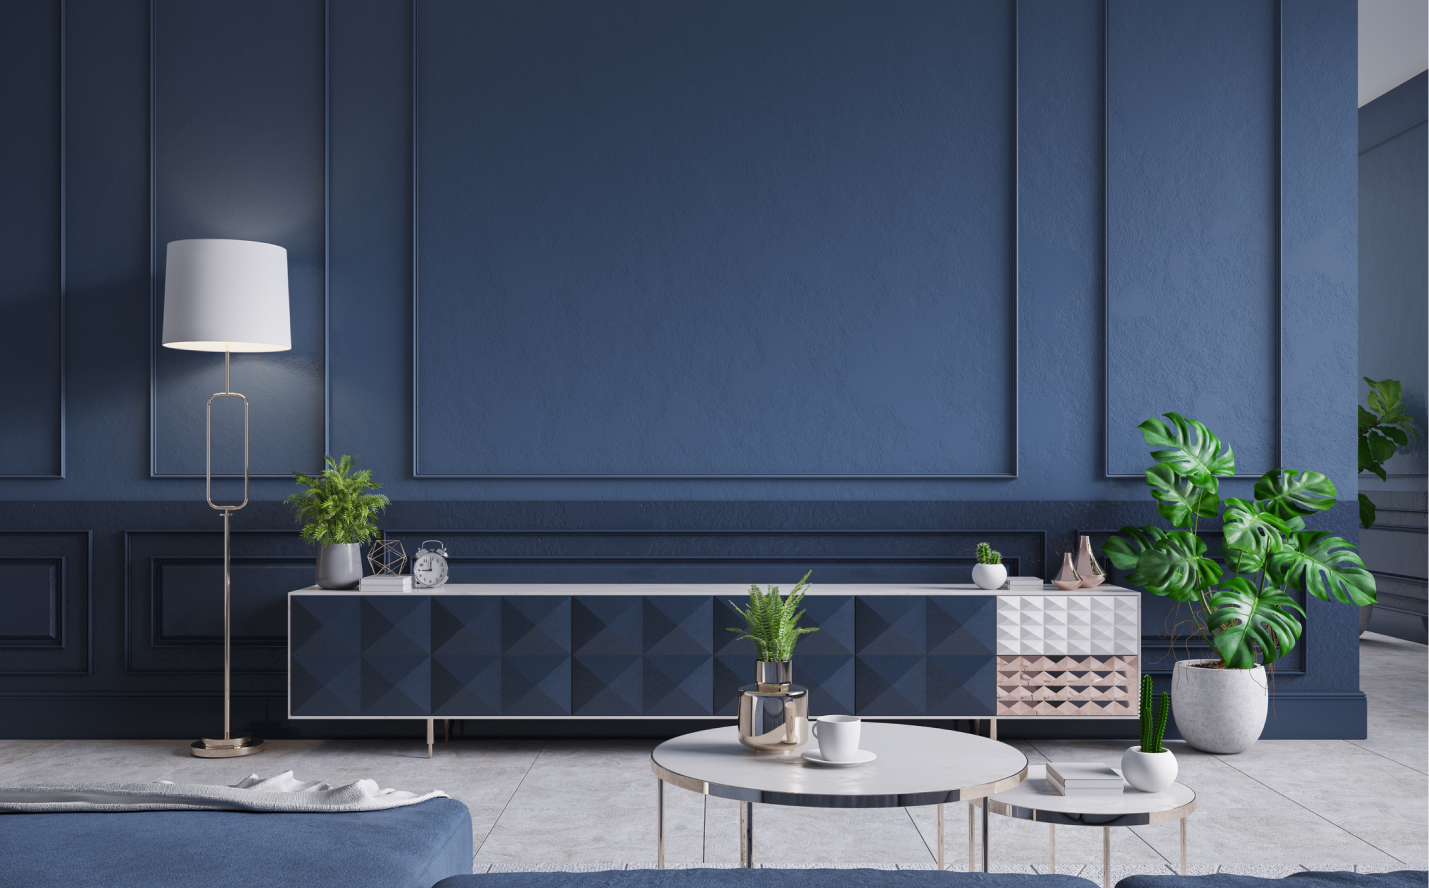
The color of the endless sky and tranquil oceans, Blue holds deep and diverse symbolism. The color most often associated with calmness, serenity, and stability offers us respite in this world. It most often symbolizes trust, loyalty and dependability.
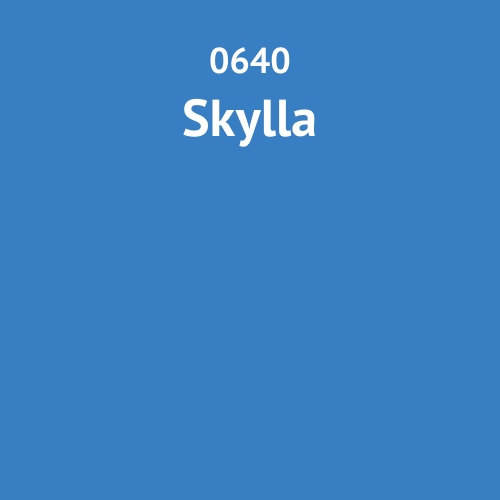
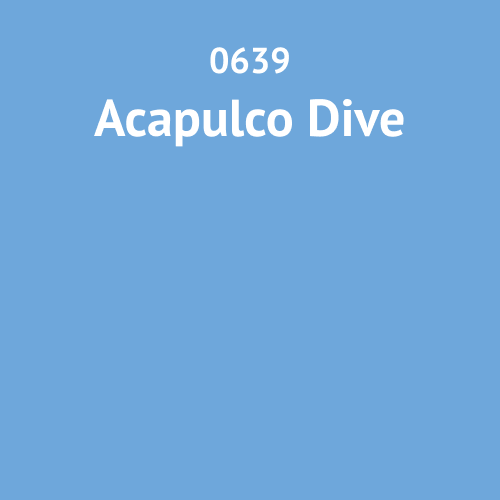
Our Favorites
Blue has been shown to reduce stress and promote relaxation, making it a popular choice for interior decor in bedroom and meditation spaces.
Blue is tied to wisdom and intellect, representing clear thinking and knowledge.
Find your colors?
Now that you’ve found the colors you love for your project, take a look at our products! Many of which can be customized to the color of your choosing to ensure your job looks and feels the way you want it to.
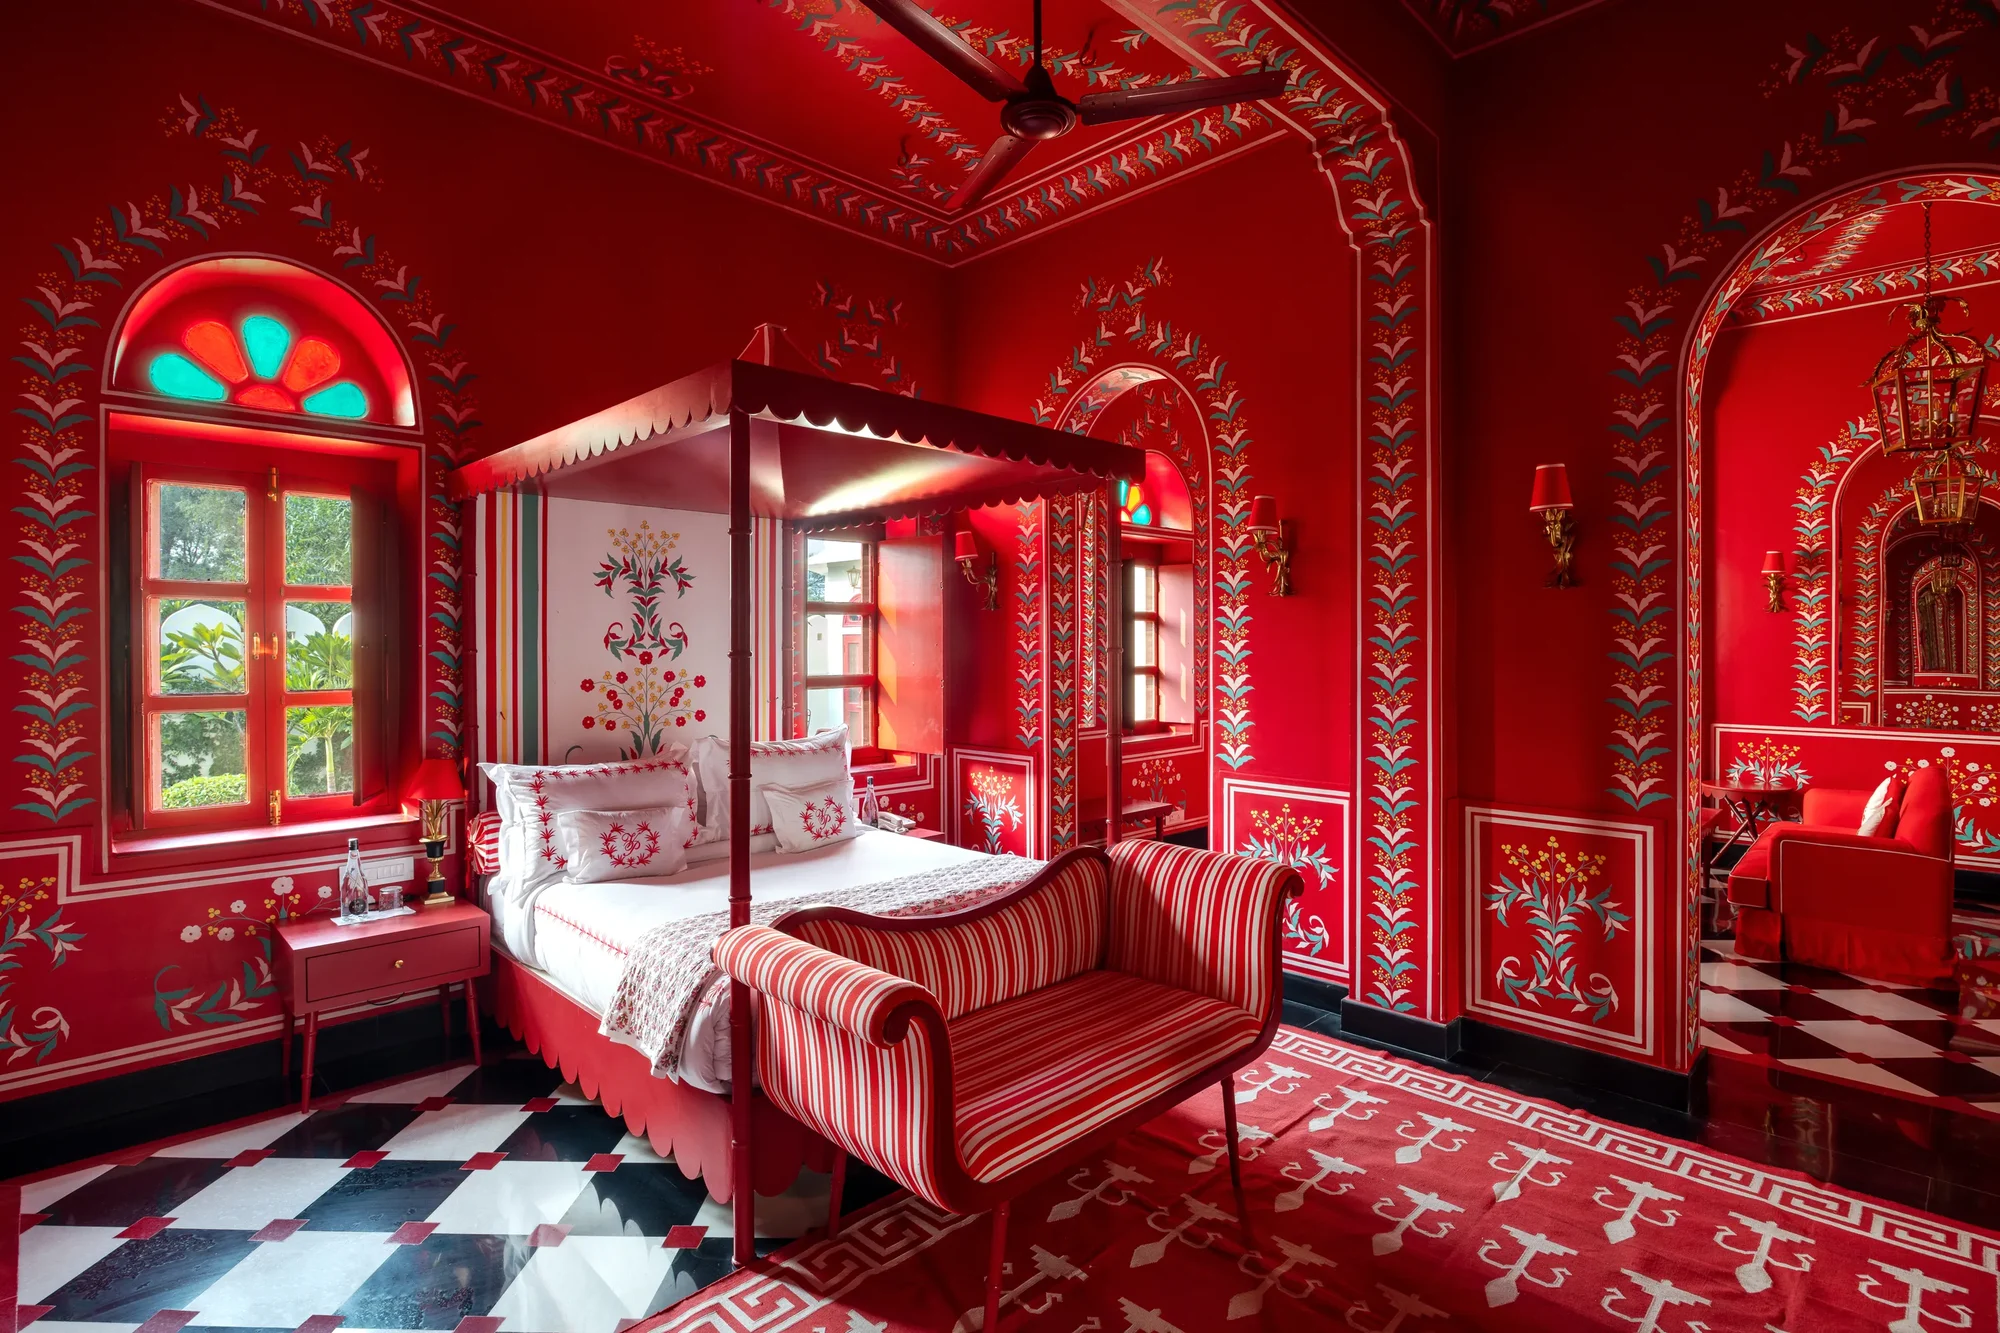
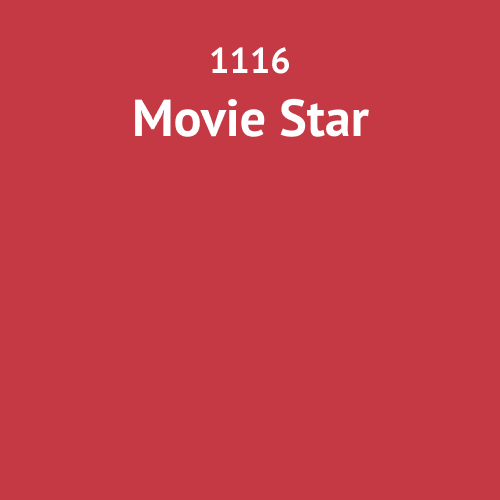
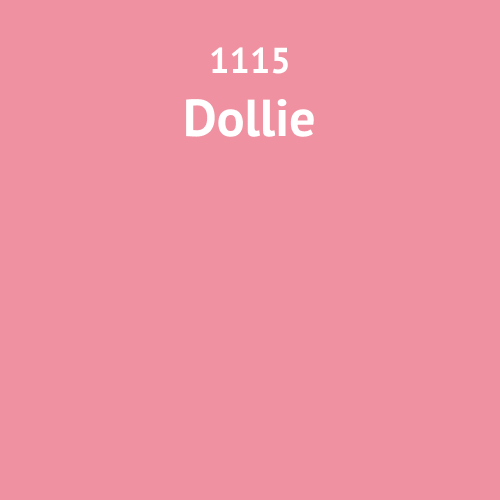
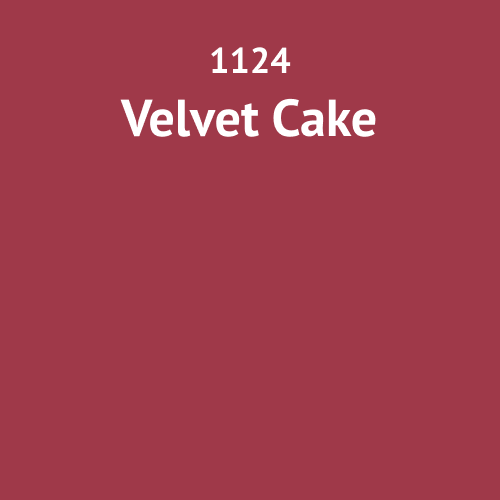
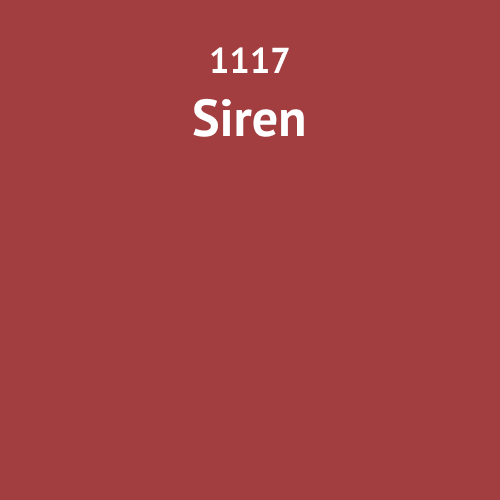
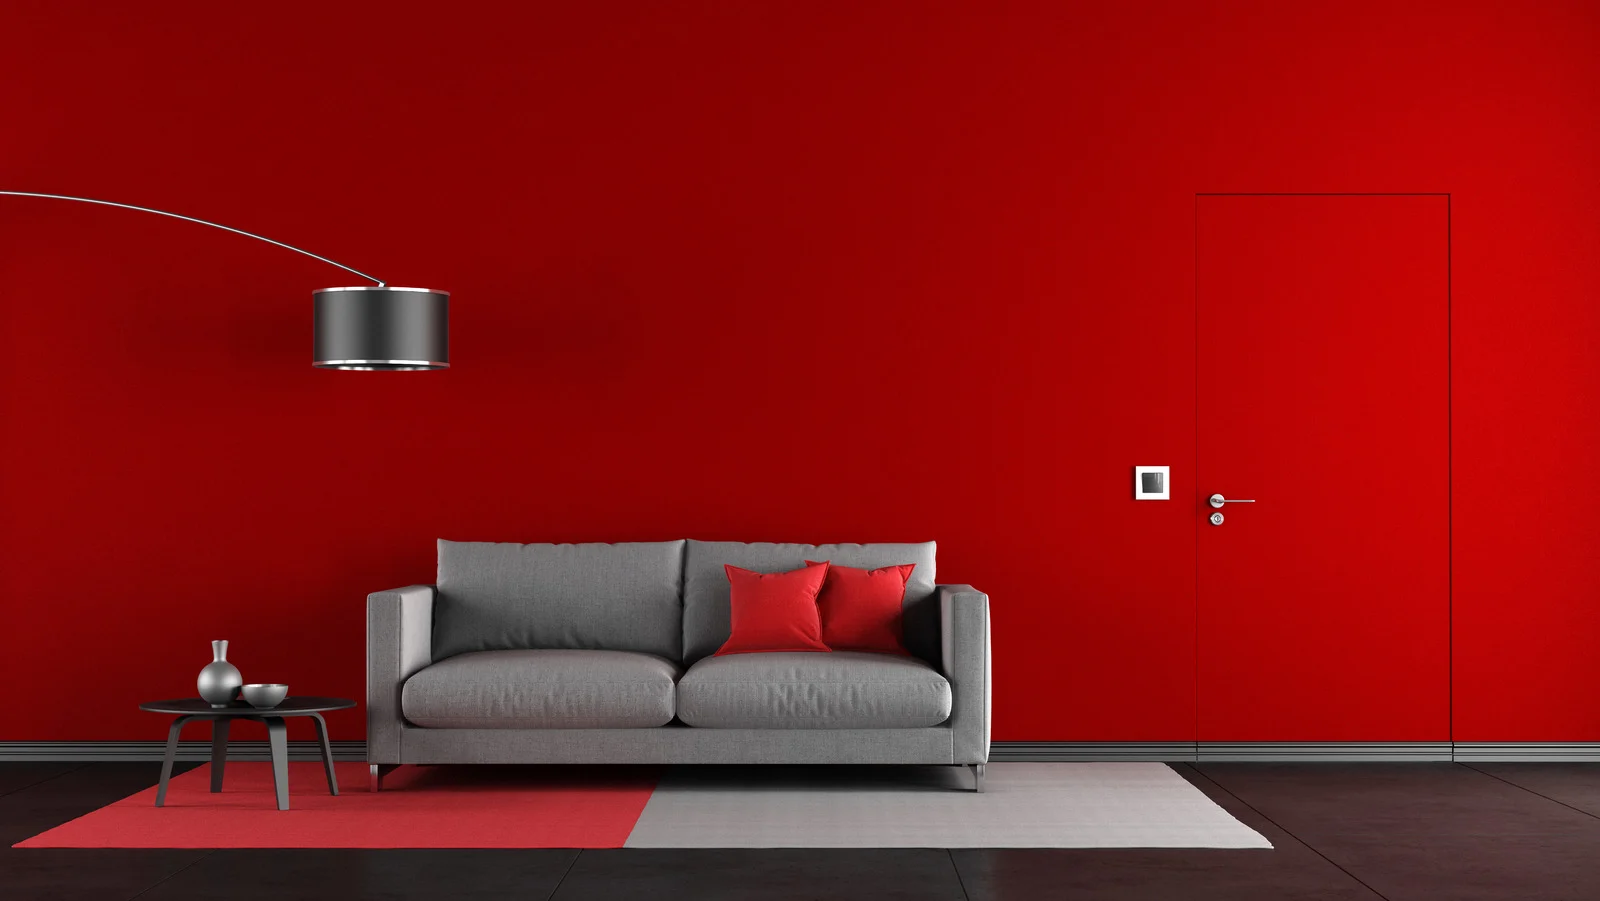
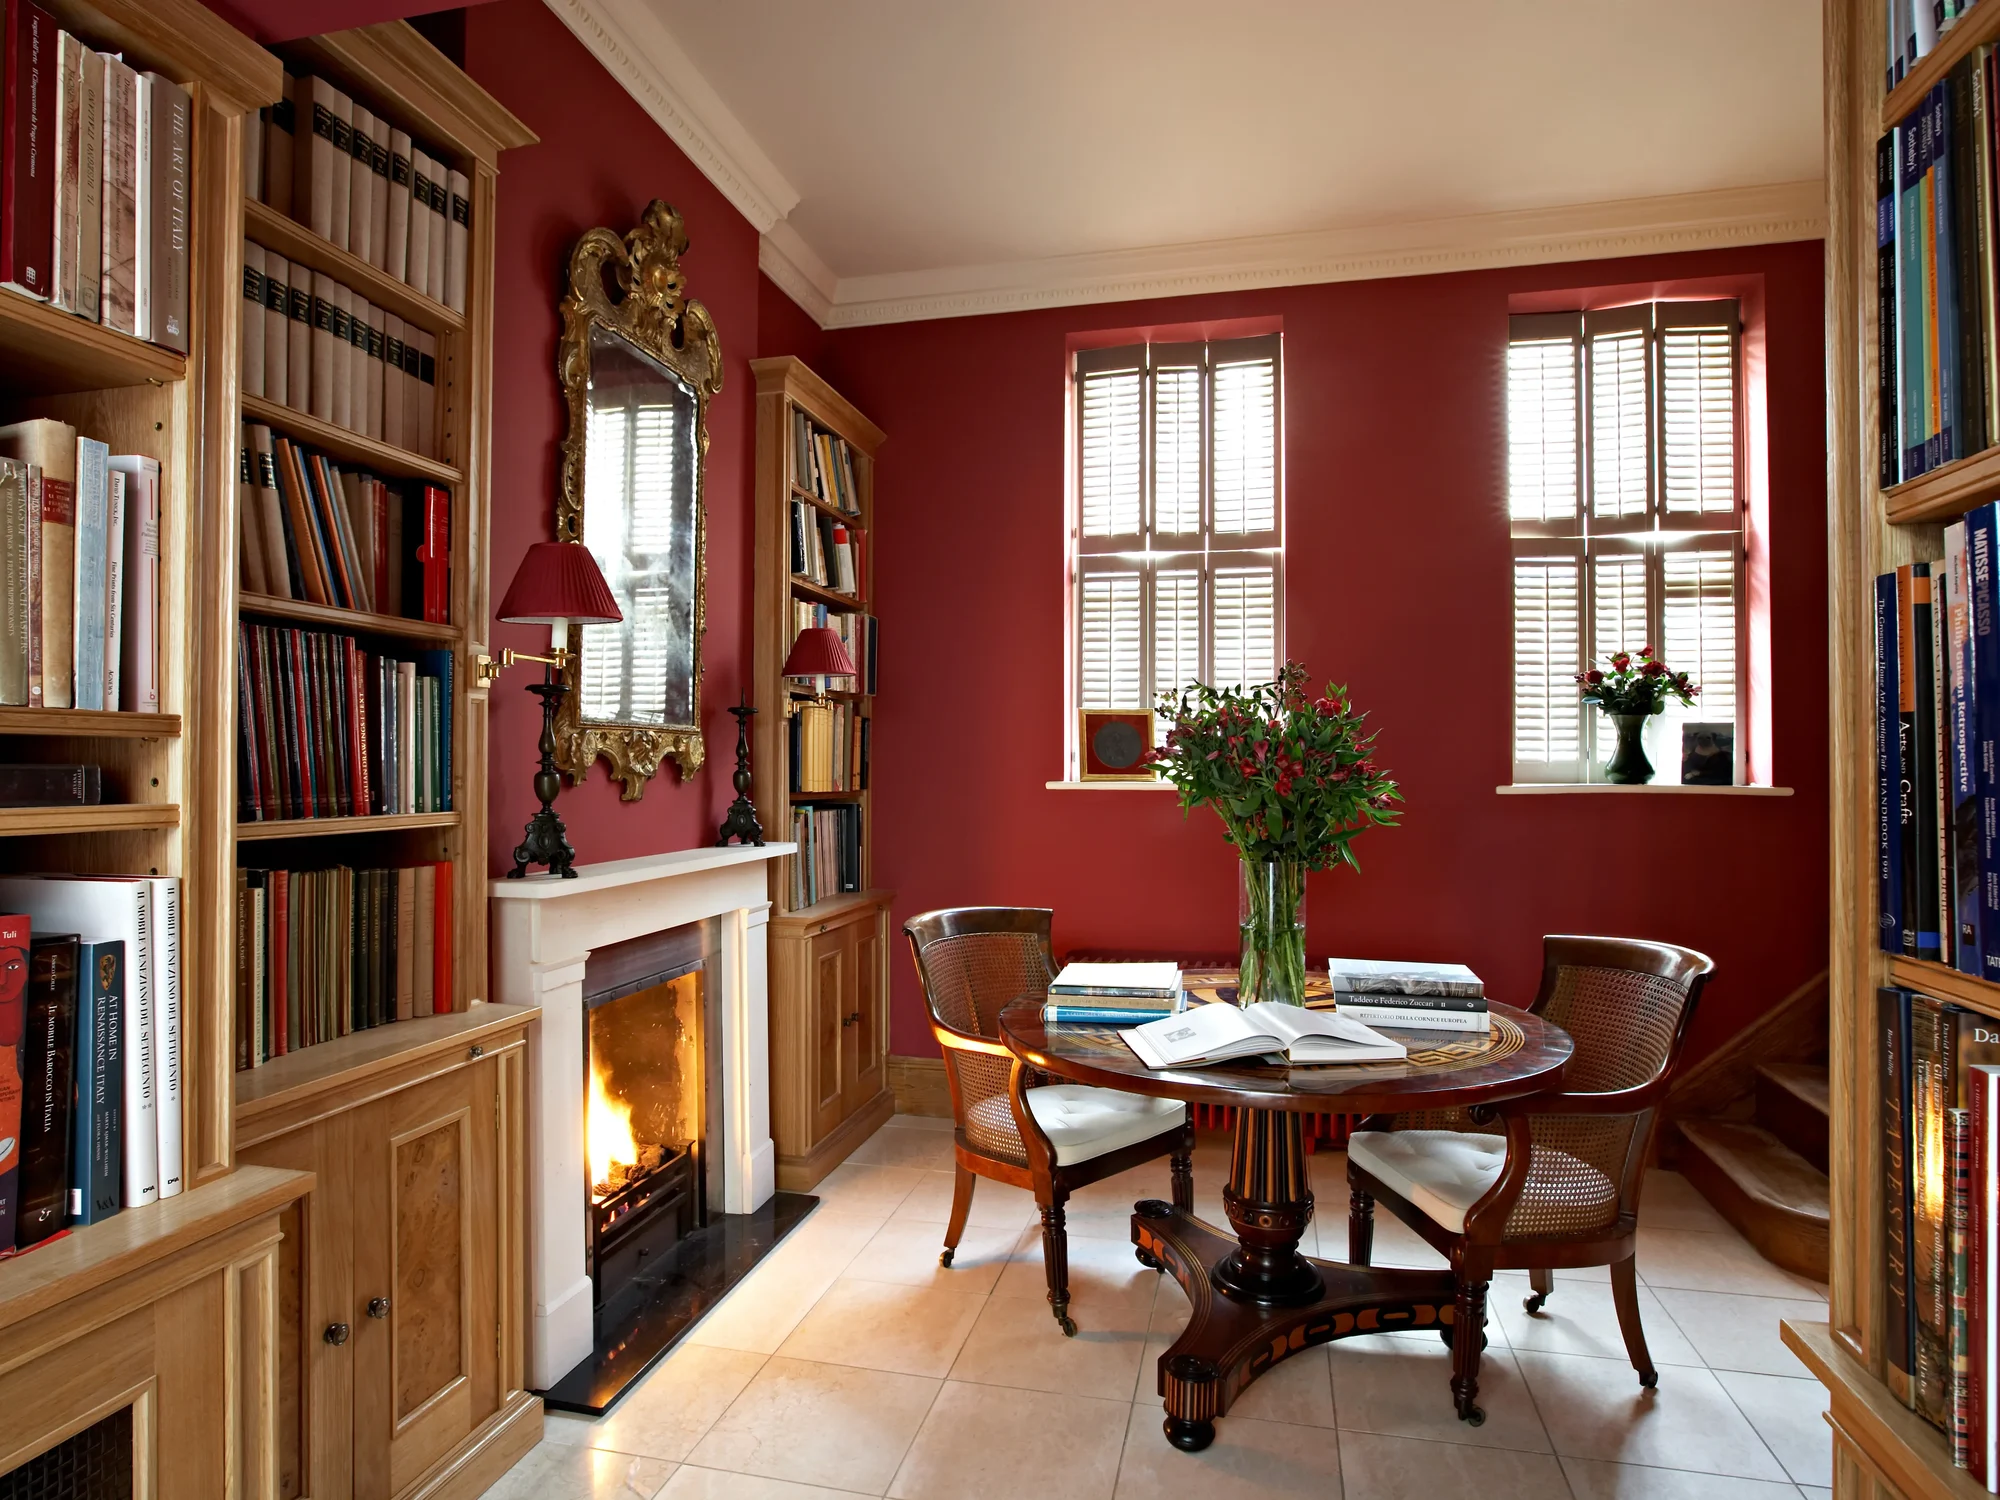
Welcome to the vibrant world of red! Red is a color that commands attention and stirs powerful emotions. The color of love, desire, and passion – it’s the color of fervent emotions that connect us deeply, making it a natural choice for expressing affection and romance.
Our Favorites
Red is associated with creativity and self expression, making it a popular choice in art and design projects.
Red is a dynamic and energizing color, representing vitality, power, and physical strength.
Find your colors?
Now that you’ve found the colors you love for your project, take a look at our products! Many of which can be customized to the color of your choosing to ensure your job looks and feels the way you want it to.
Do you want to update your home in 2024? If so, starting with a fresh, stylish paint color is a good idea. Choosing a new, on-trend paint color can make your home feel more modern, open, and inviting. In 2024, sterile, plain white and cool, muted gray will be out of style, and more varied, unique neutral colors will be in style instead. Here are our top 5 paint colors for 2024 that would look trendy and timeless in your home.
All of these paint colors are created and sold by Vista Paint, a premier and affordable paint store based out of California and Nevada. Based on current and future interior design trends, these five paint colors are projected to be incredibly popular in 2024. Keep in mind that all computer and phone screens have slightly different coloration and lighting, so the colors you see portrayed here might not be exactly the same as the paint colors you receive. For the closest color match, you should order some paint color chip samples from Vista Paint. Find more on this below!
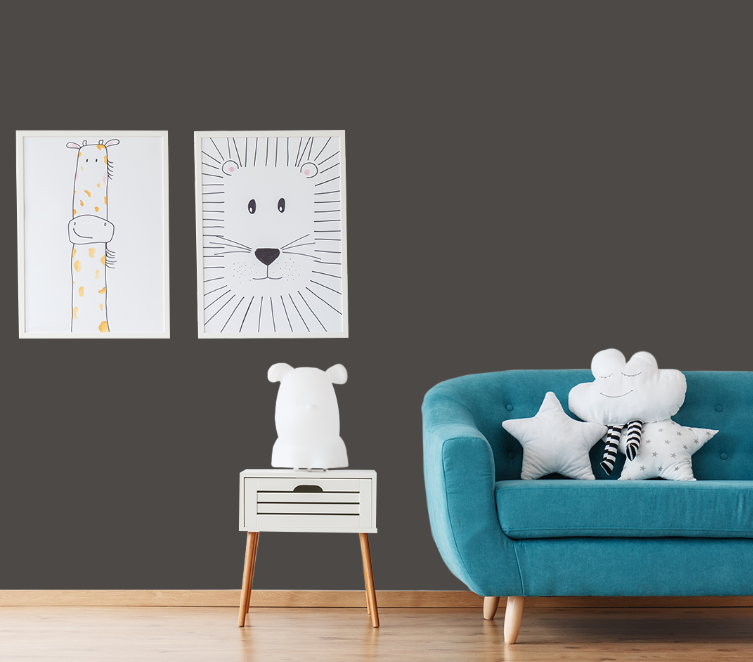
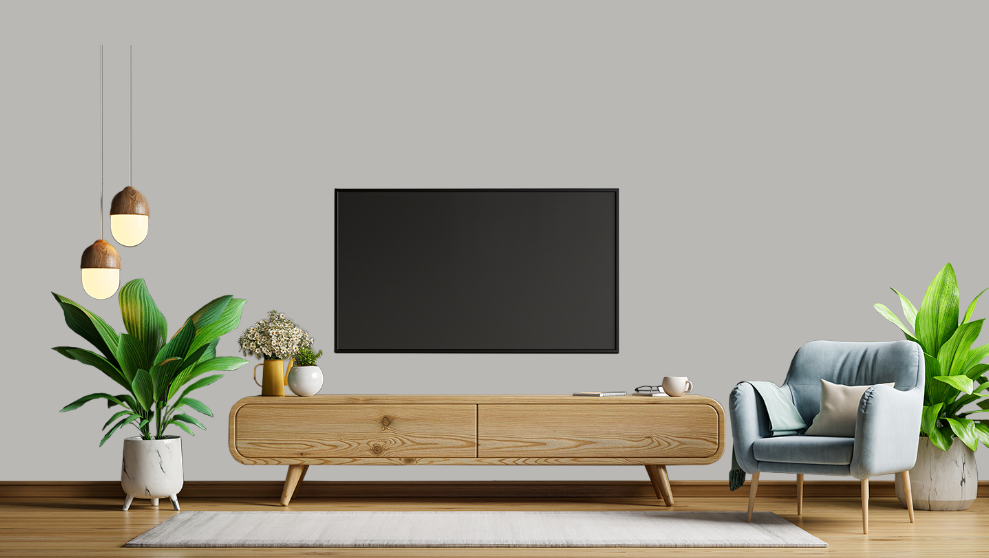
5. Subtle Shadow
Subtle Shadow (0534) is a medium gray with slightly warm taupe undertones. This lovely neutral is bolder than a traditional, light gray, and can bring a touch of depth and drama to any room. It can also act as a lovely accent color if you like most of your walls to be painted in a lighter color.
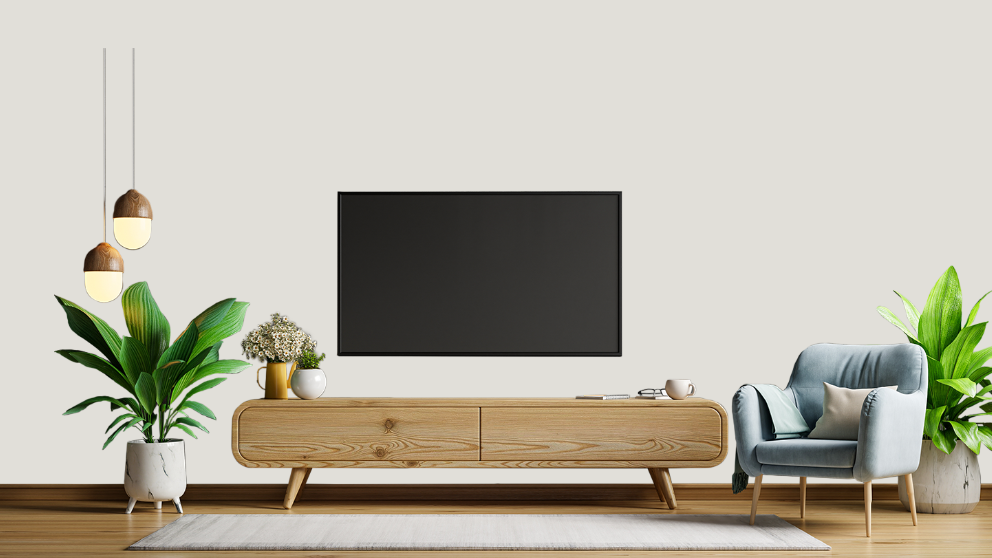
4. Doves Wing
Doves Wing (0537) is a stunning, light neutral paint color that could brighten up any space in your home. It is a light “greige,” or beige color with the slightest cool touch of gray undertones. Depending on your lighting and home décor, this neutral paint color could look more beige, gray, or cream, which will make it a versatile and timeless option for your home.
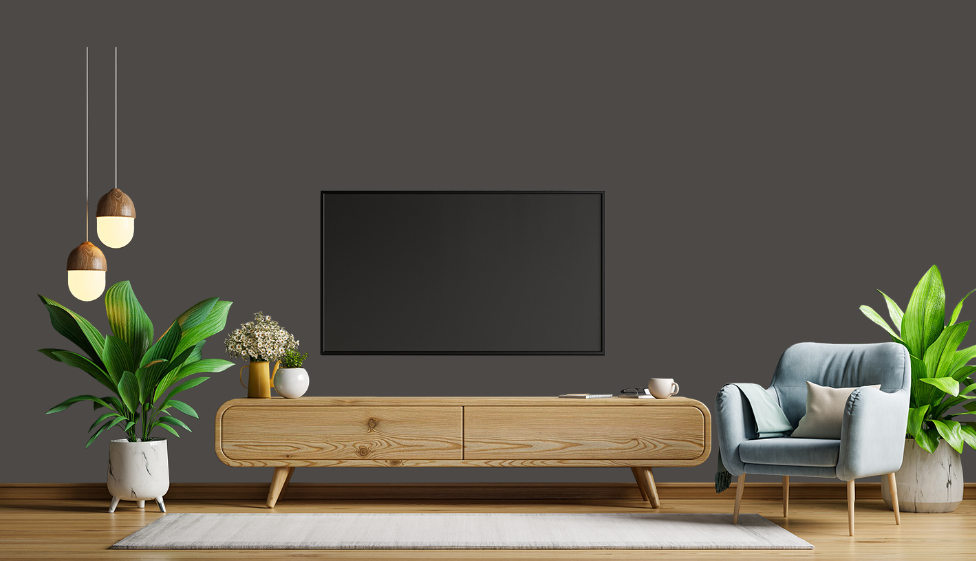
3. November Storms
If you’re looking for a paint color that is moody and dramatic, you’ll definitely fall in love with November Storms (0543). This paint color is a dark, pigmented brown with black and gray undertones. In the right light, this paint color might even have a touch of earthy green. The décor and paint colors that you pair with November Storms can bring out different undertones, making it an incredibly multifaceted paint color.
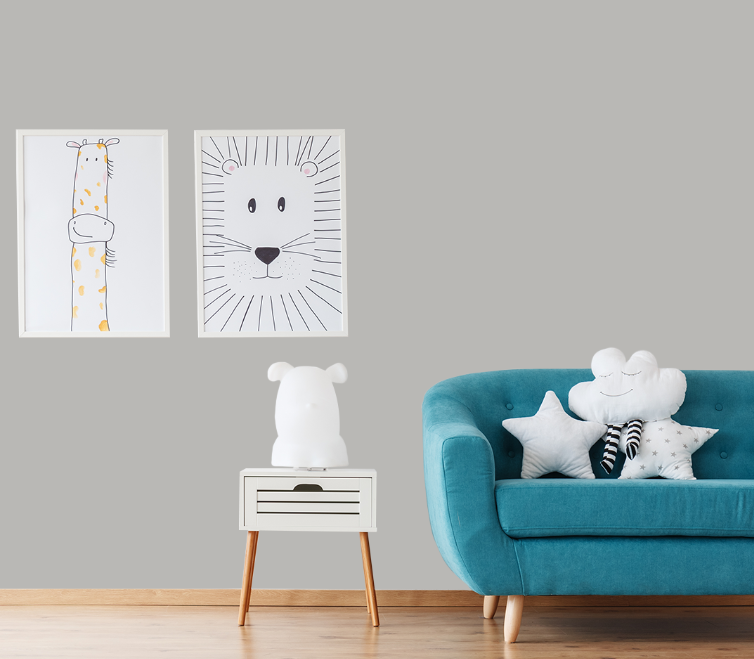
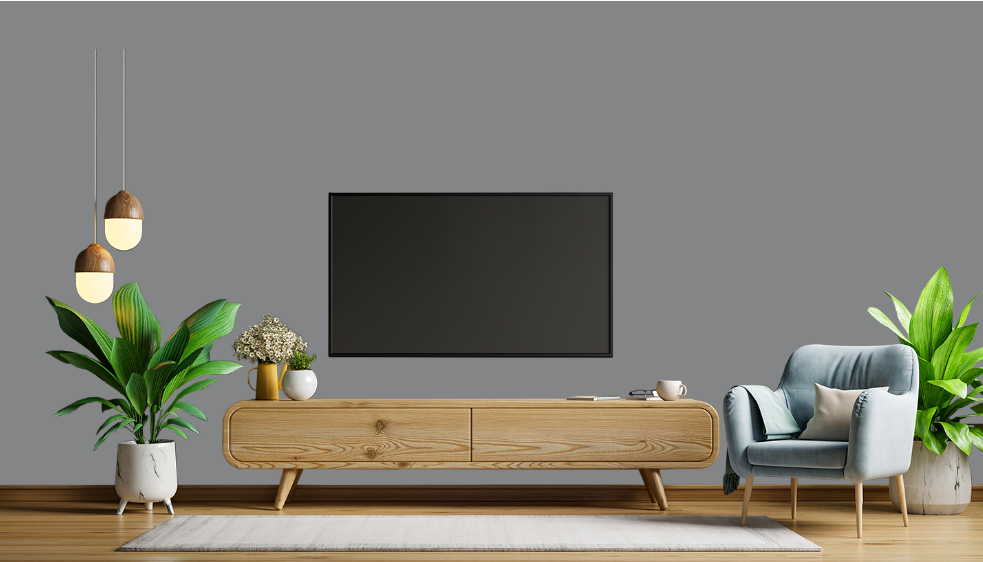
2. Rand Moon
Next up, we have Rand Moon (0532). Compared to Doves Wing, Rand Moon is much of a truer gray color but it isn’t nearly as dark as Subtle Shadow. This light gray has warm undertones, which gives it a lot of flexibility when you’re matching décor pieces and unique color palettes. The warmth of the undertones married with the neutral gray color make this a wonderful neutral that will give some style and pop to any room in your home.
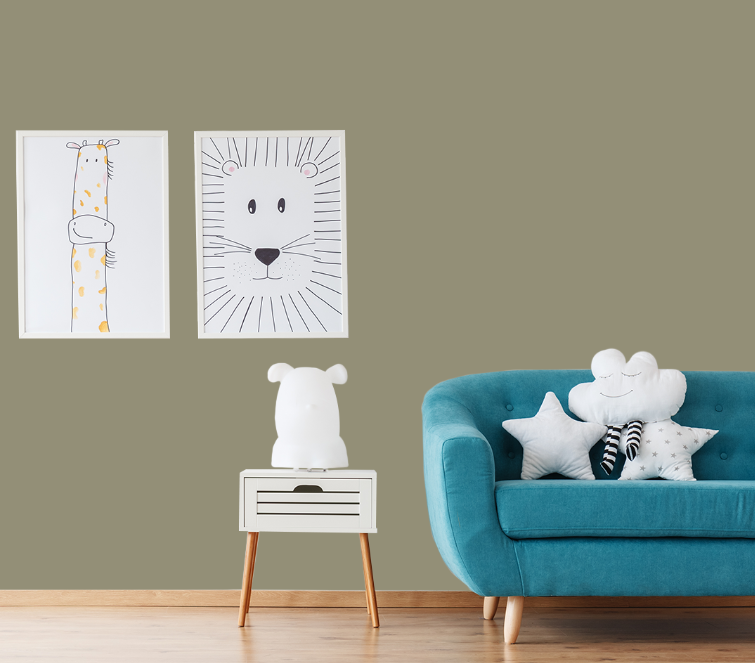
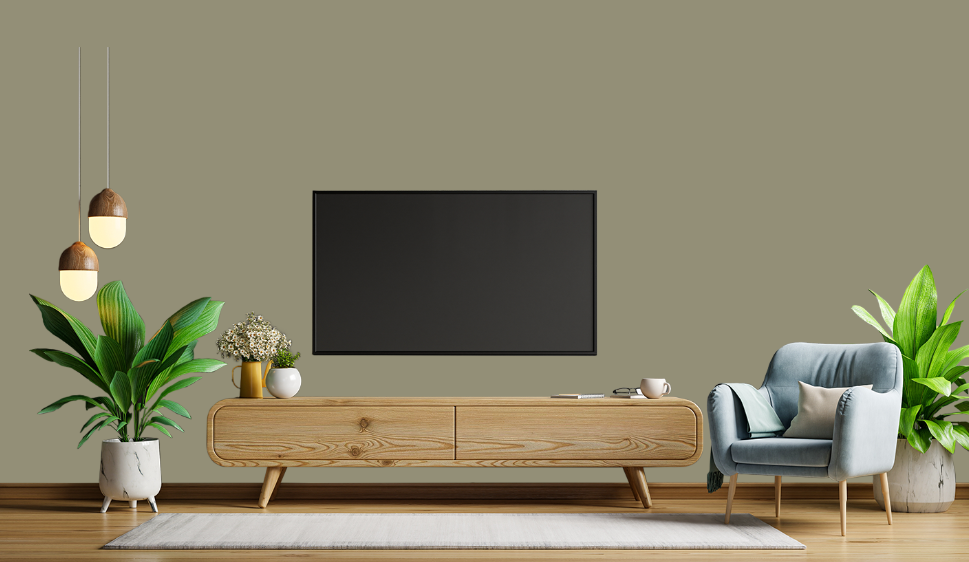
1. Burning Idea
Finally, we have Burning Idea (0373) by Vista Paint. Burning Idea is a medium, muted beige-brown paint color. This neutral has green and yellow undertones, which gives it a bold, warm feel, especially when it is paired with other modern colors or natural textures. This is projected to be the #1 paint color of 2024 because it can have fluid color shades depending on its color pairings and because it feels bold, fresh, and new.
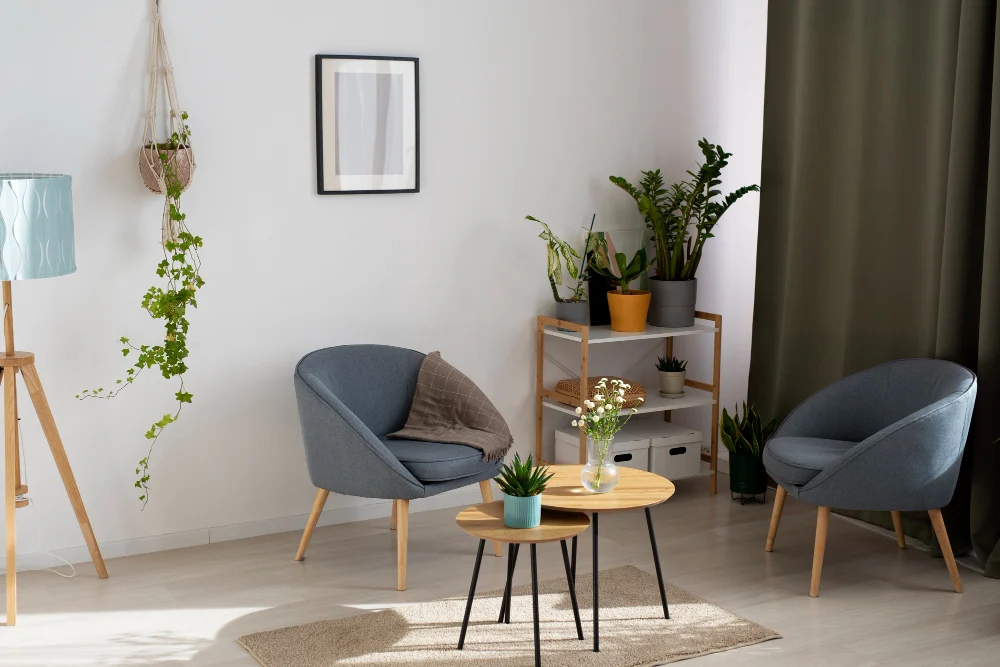
Where Can I Use These Colors in My Home?
If you’ve had the same paint color in your home for many years, you might feel at a loss when it comes to actually putting new paint on your walls. Luckily, any of these neutral paint colors from Vista Paint would be a lovely option. There are many different spaces in your home where these Vista Paint colors could shine.
The lighter colors, like Rand Moon and Doves Wing, could work in essentially any room in your house as a timeless base for the rest of your décor. You could even use these paint colors on furniture pieces and cabinets.
The bolder colors could work well if you want to make a dramatic statement in a room, such as an office. You could also use them on an accent wall for a beautiful touch that isn’t as risky as a fully painted room. For example, if you want to add an accent wall in your bedroom to make your headboard and furniture pop, Burning Idea or November Storms could be great options.
What Additional Colors Pair with These Five Colors?'
Luckily, lots of accent colors can be beautifully used with these neutrals. Here are a few color pairings for you to try out.
All the paint colors described in this article are sold exclusively at Vista Paint. Vista Paint is a great place to buy paint because they create durable, scratch-resistant, high-quality products that are also vibrant and beautiful. Best of all, you’ll be able to get their stylish paint products at an incredibly affordable price without sacrificing the quality of your finished product.
You can also request paint chip samples to be sent to you so you can view their colors in person. Just take a minute to fill out this order form on the Vista Paint website! To get the best results, tape your paint color chips to the wall that you plan to paint. Leave the chips there until you’ve seen them in many different stages of lighting throughout the day. Paint colors look different depending on the color, vibrancy, and strength of the lighting in a given room, so you should make sure you love your paint color at any stage of the day. This will make it much easier to determine if a certain paint color is right for your home.
The Top 5 Vista Paint Colors for 2024 Do you want to update your home in 2024? If so, starting
Protec Metallic is in the family of high performance metallic finishes. It is a part of our Protec Alkyd Emulsion product line and offer the same balance of excellent performance and application properties. Protec Metallic finishes offer a step forward in waterbased metallic finishes that are low VOC and virtually no odor. These decorative products can be applied on a variety of interior and exterior architectural surfaces including metal (except unprimed galvanized metal), wood and primed cementitous surfaces.
Environment: Exterior / Interior
Recommended Uses: Metal railings, door frames, windows, lockers, wrought iron and any other surfaces that require a metallic finish.