
Multiple coat failure occurs when two or more paint layers detach together from a substrate or from an underlying coat. The topcoat often remains bonded to the layer beneath it, so the failure originates in a previously applied coat—or, in more severe cases, at the original substrate (Figure 1).
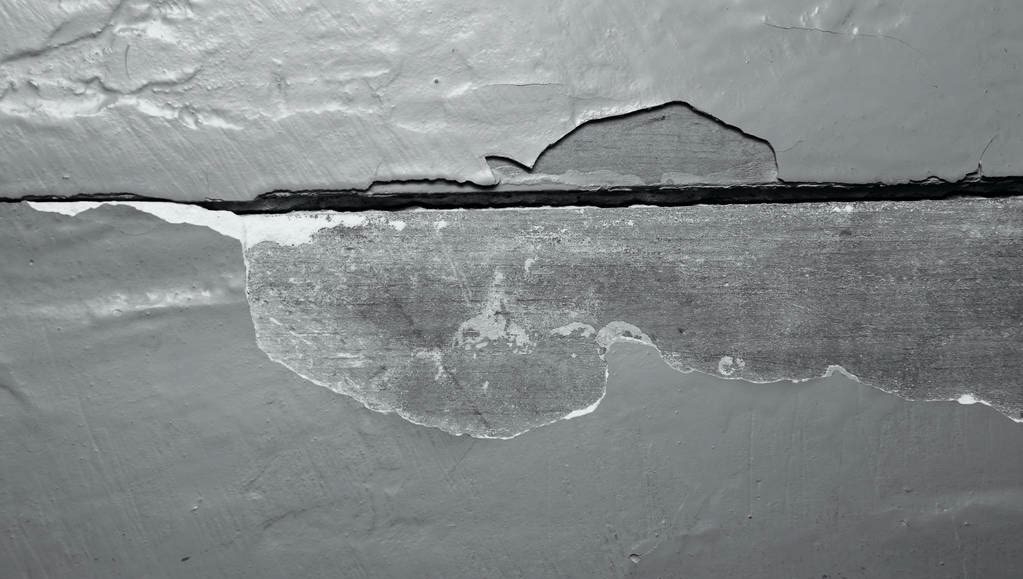
When these factors act in combination, the probability of multi-coat delamination increases significantly.
Examine peeled areas for cracking, checking, blistering, or discoloration, and observe whether the underside of the paint is stained, chalky, or shows multiple layers. Evaluate adhesion using ASTM D3359 Method A or a comparable tape test (see the Technical Bulletin, Field Evaluation of Coating Adhesion, for the detailed procedure). Test several representative locations, since acceptable adhesion in one spot does not confirm adhesion across the entire surface.
As a chain is only as strong as its weakest link, a paint system is only as strong as the weakest bond between or within individual coats. Be aware that anything less than complete removal of unsound coatings can shorten the service life of a repaint. Although stripping back to a sound substrate is often time-consuming and costly, it is necessary to achieve reliable adhesion. Adding new coats over marginally adhered layers increases weight and stress, which further weakens the system. Multiple-coat failures are avoidable when contractors thoroughly assess existing coatings, control moisture, remove compromised layers, and limit excessive film buildup. Careful attention to substrate condition and appropriate preparation methods reduces callbacks and results in longer-lasting coating performance.
AMPP. Good Painting Practice No. 1: Surface Preparation for Industrial Coating Maintenance. AMPP Association for Materials Protection and Performance, latest edition.
AMPP. Surface Preparation of Concrete and Masonry Prior to Coating Application. AMPP Technical Resources, accessed 7 May 2026.
ASTM International. ASTM D3276-21: Standard Guide for Painting Inspectors (Metal Substrates). ASTM International, 2021.
ASTM International. ASTM D3359-23: Standard Test Methods for Rating Adhesion by Tape Test. ASTM International, 2023.
ASTM International. ASTM D4258-24: Standard Practice for Surface Cleaning Concrete for Coating. ASTM International, 2024.
International Concrete Repair Institute. ICRI Technical Guideline No. 310.2R: Selecting and Specifying Concrete Surface Preparation for Sealers, Coatings, and Polymer Overlays. ICRI, latest edition.
International Concrete Repair Institute. ICRI Technical Guideline No. 310.2R: Selecting and Specifying Concrete Surface Preparation for Sealers, Coatings, and Polymer Overlays. ICRI, latest edition.
Painting Contractors Association. Surface Preparation and Coating Failure Prevention Guidelines. PCA Industry Standards and Technical Resources, accessed 7 May 2026.
Portland Cement Association. Surface Preparation and Moisture Considerations for Concrete and Masonry Coatings. Portland Cement Association, www.cement.org. Accessed 7 May 2026.
U.S. Gypsum Company. Gypsum Construction Handbook. 8th ed., USG Corporation, 2014. AMPP. Surface Preparation and Moisture Testing Considerations for Protective Coatings. AMPP Technical Resources, accessed 7 May 2026.